


Web Site by cg-photohraphy.co.uk


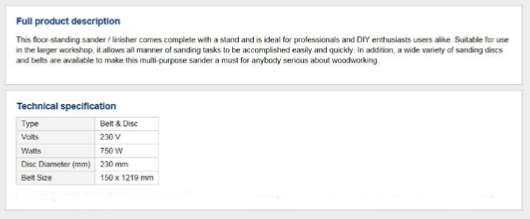
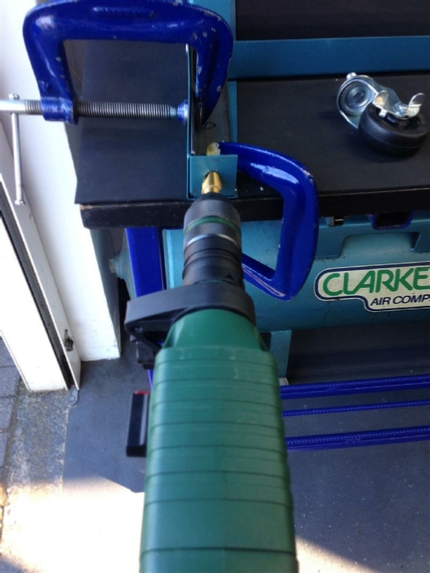
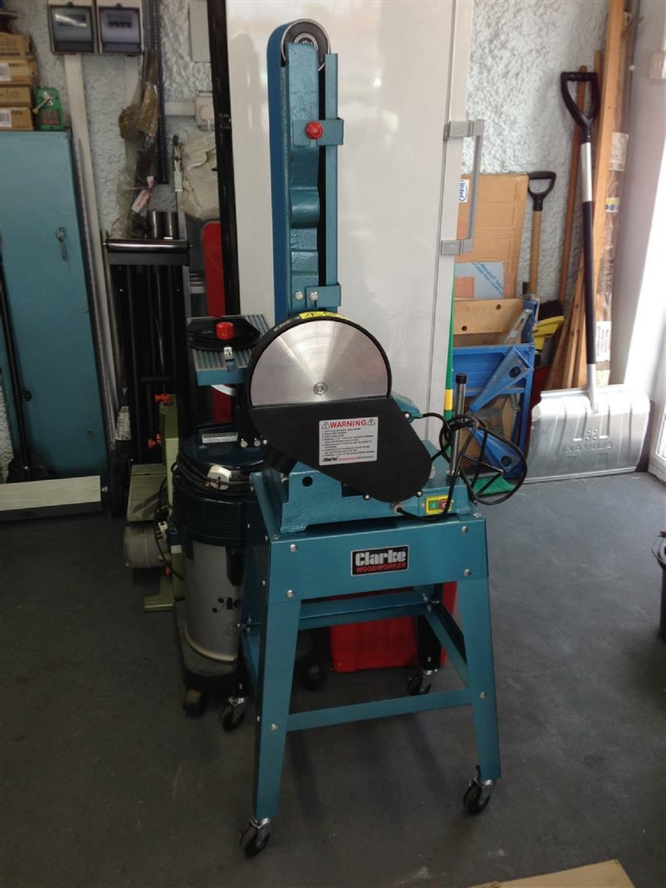
I did not want to spend £900 on on a fast knife making high speed belt sander, for occasional use in the workshop. So I had a look around for an alternative, and found this at my favourite store Machine Mart, a Clarke’s CS6-9C Floor Standing Belt Sander. See Video below:
Belt Sander Wheels plus Lead Replacement
There is however, one thing to be aware of, this machine is basically designed to work with wood. So the speed of the sanding belt will be limited, to about 5Mtr/Sec.
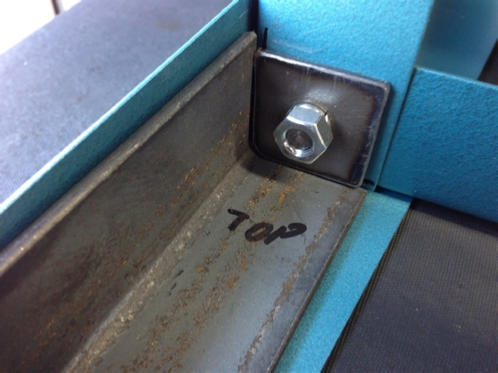
One of the problems I noted from some of the reviews, was that the base maybe not be as sturdy as it could be. Now this is interesting, because if you look at the picture in the video above. You will notice the cross bracing pieces fitted half way down the legs? However, if you look at the picture below and in the spec sheet (also below), you will see that they are gone? Luckily mine still had these cross braces. It’s also interesting that they did that, because this belt sander weighs in at a very considerable 51.5Kg and has a 1HP motor. You can view the spec sheet here:
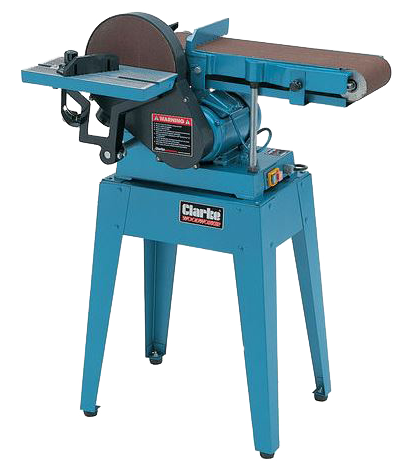
Spot the missing parts?
Now I know that a lot of the machine items are imported, so maybe there was no choice in the matter, but other than making the product for less money, I believe this is a step in the wrong direction.
Now you may say, well it does not have wheels, so will not be moved around, and it certainly is heavy enough not to move when you use it, and you may be right.
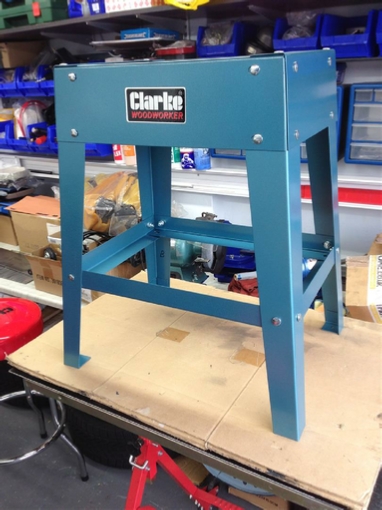
However, I am going to strengthen the legs, because I do want to move mine around!
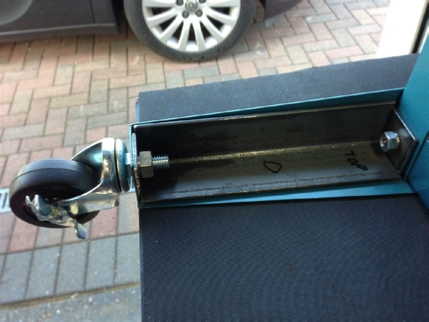
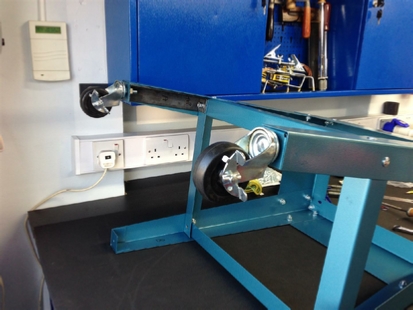
This time around, we are going to do three things, strengthen those legs, add some wheels, and yet again extend the mains lead.
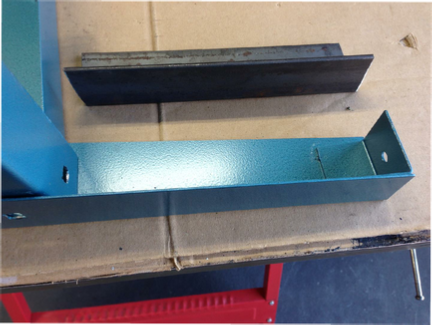
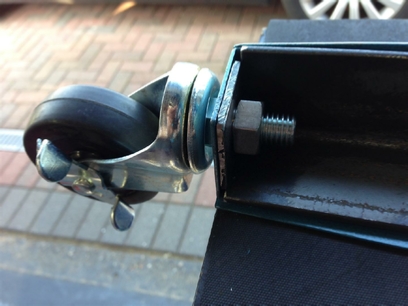
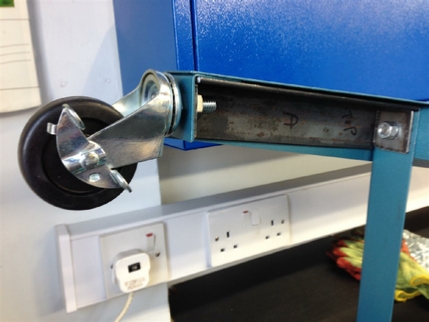
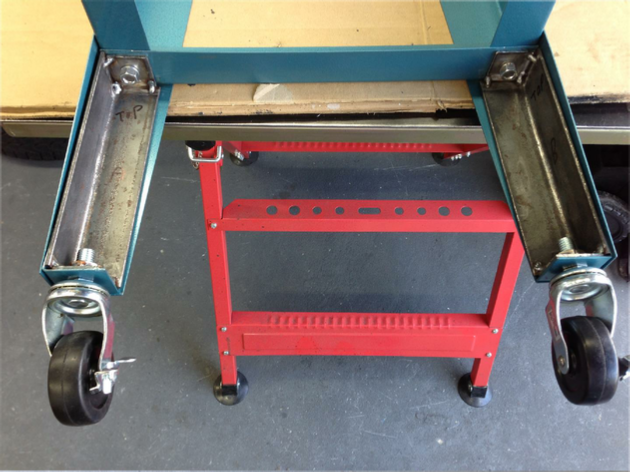
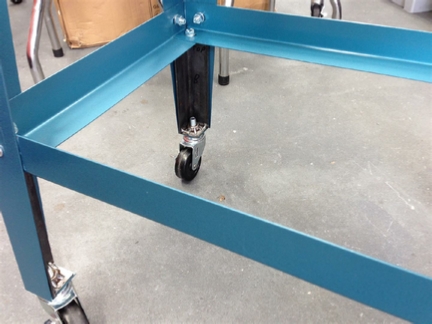
I decided to place some steel right angle inside the legs, and weld some plates to the top and bottom. I could get a bolt fixing at the top, and then use the bolt at the bottom that is used to attach the wheel.
Only one problem, the sheet steel that the legs were made from was indeed a little thin, but was nicely painted, and I did not want the heat from the welding process to damage it?
One thing I like to do is get a good fit on the parts that I make, the best way to do this is bolt it, then weld it, and that is what I am going to do.
Using a secret trick, that I am going to share with you.
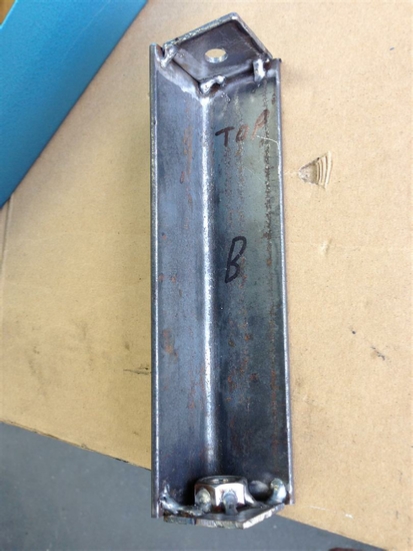
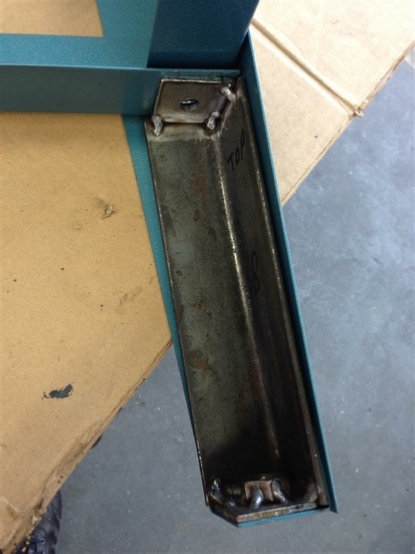
The steel angle iron is 40mm x 40mm x 3mm, and the end plates are also 3mm. If you want to get a good weld, always try to keep the steel parts the same thickness.
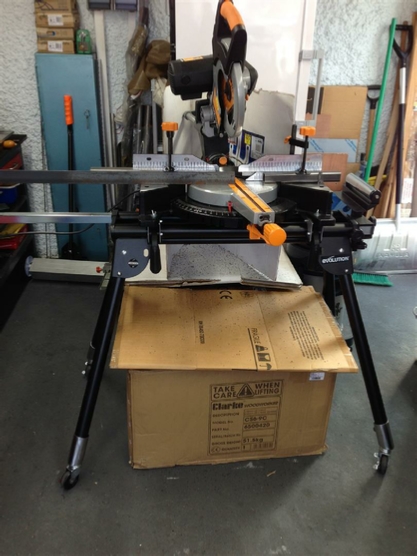
First of all let’s cut those legs. For this I am using that compound cutting ability of the Rage 3, because the legs splayed out at 7 degrees by 7 degrees.
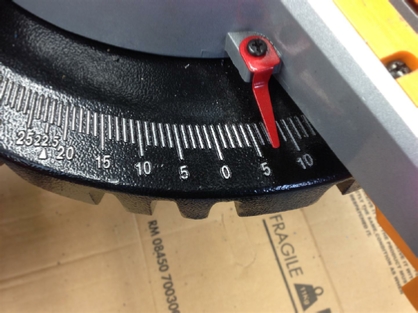
Set angle one at 7 degrees.
Set angle two at 7 degrees.
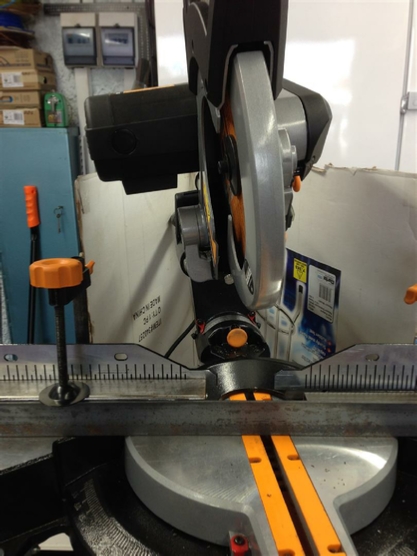
The result with both angles now set.
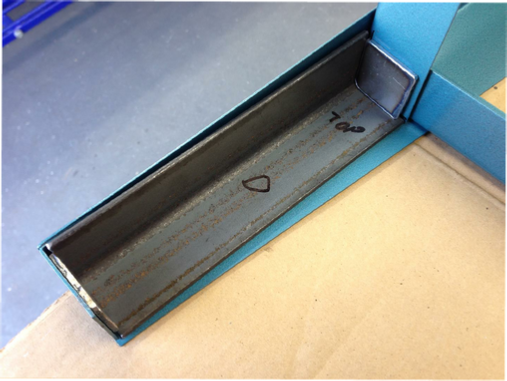
The angle iron was cut to the internal length between the cross member and the leg angle bracket minus the thickness of the two steel fixing plates which are yet to be made. Remember the plates will be 3mm thick each. I did find that the length varied, I guess because those cross member pieces were not a tight fit (see picture left) and simply relied on the 8mm bolt to hold them tightly together.
No matter we can fit them properly when the plates are made.
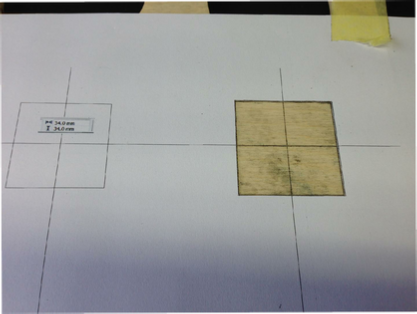
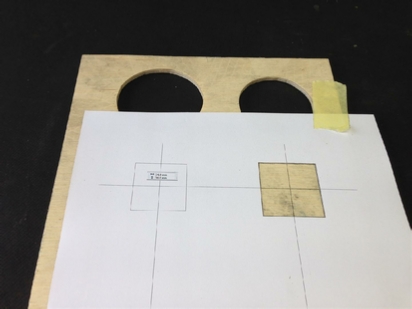
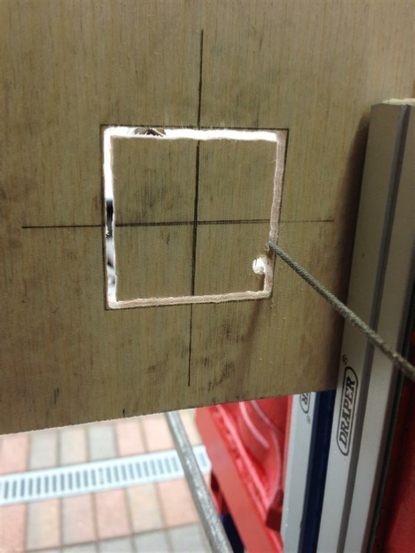
Time for a little CAD/CAM and plywood cutting. You know the drill, and then that Cro_Arc 40 Plasma!
Now I am going to hold my hands up to this one.
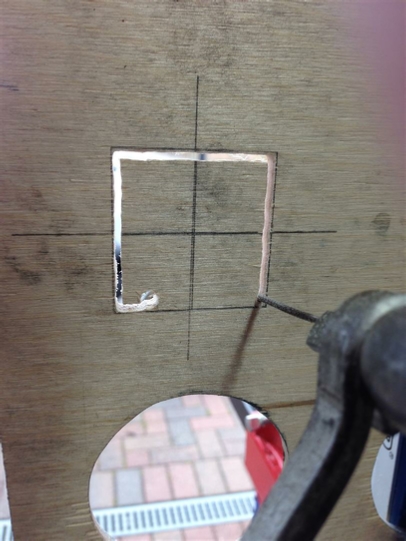
When I did the CAD/CAM I forgot to add the extra dimension from the cutting tip of the plasma torch and so marked out the square to the right size on the plate that I needed instead of adding 4.7mm to each side.
D’oh! As Homer from the Simpson’s would say. So a quick re-cut was necessary.
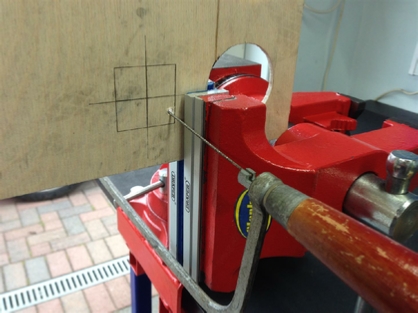
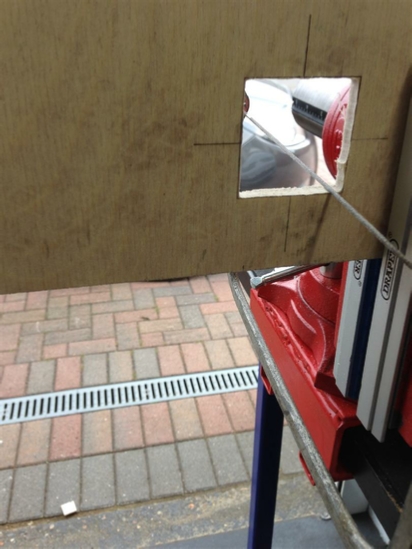
Time to fire up the Cro-Arc 40 for some quick cutting.
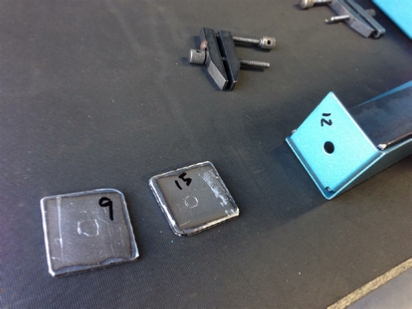
The plates now cut, we need to mark the holes for drilling, 9mm for the top plate bolt, and 15mm for the wheel stud bolt.
Time for that Veritas optical centre punch. I must admit since it’s purchase I have not used my sprung loaded centre punch at all.
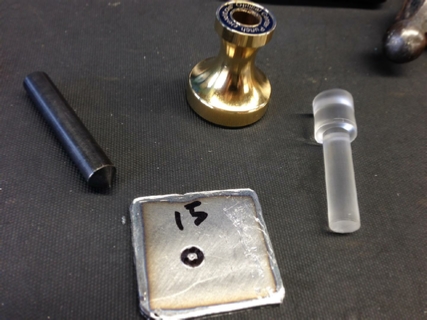
Align the cross hairs, switch out the optic for the punch, hit it with the hammer, job done!
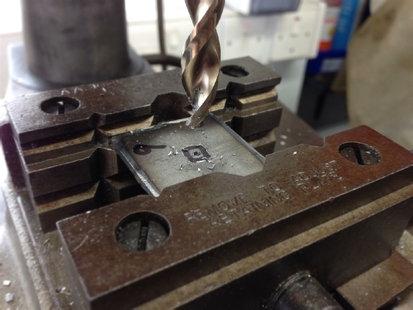
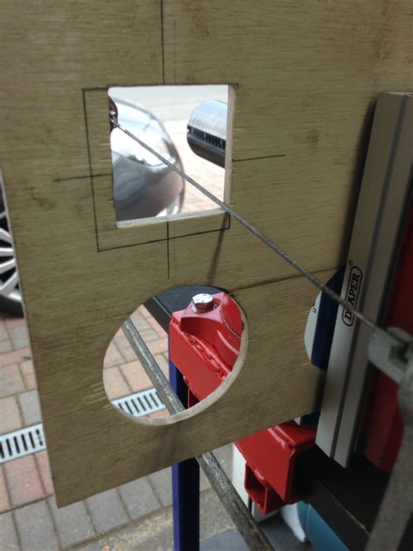
Drill for the 9mm
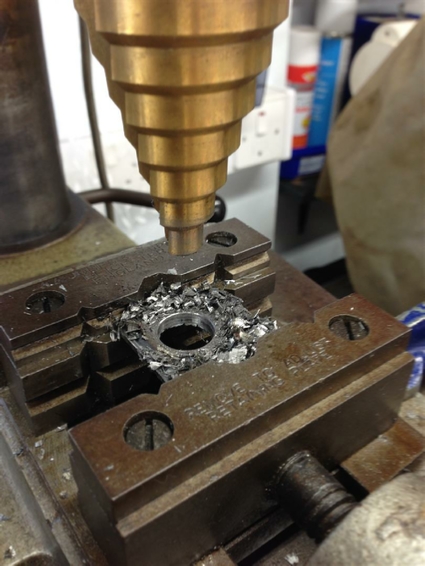
And step drill for the 15mm
First fit-up of the three pieces.
Looks good!
Time to enlarge those foot holes, notice the use of the step drill and my SDS plus drill with the chuck fitted, also the use of multiple clamps.
You don’t want this lot flying around the bench not with the power of that SDS drill!
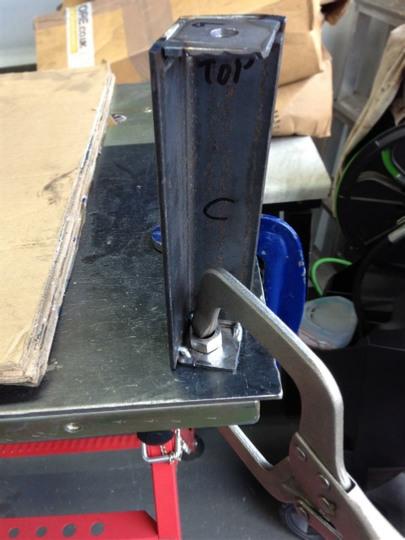
Nice fit for that top bolt plate.
This part is essential a final fit up before welding. In this case, I had to number each of the legs A to D and stamp them as each of the leg lengths were different. Just take your time to get it right, it’s like measure twice and cut once!
So now for that secret!!!!!!
I have already said that I did not want to repaint the leg assembly, but I needed to keep it cool so that it would not overheat during the welding process and discolour the paint.
So how as I going to achieve this? I found that if you only tack weld, and use the right heat setting, then straight away, hit the same area with the air gun set quite high, no burning or discolouration will take place, neat hey?
However what you MUST do is tack, and then air gun, tack and then air gun, and so on….
Do not get carried away and think ‘I can get away with doing two or more tacks’ because you won’t.
I did this technique with the entire stand, got good welds and no problems with the paint discolouration.
It seems obvious, but it really works, and I am welding 3mm steel don’t forget, check out the pictures below for the final results.
Time for those weldnuts, to hold those wheels
Check out that original paint?
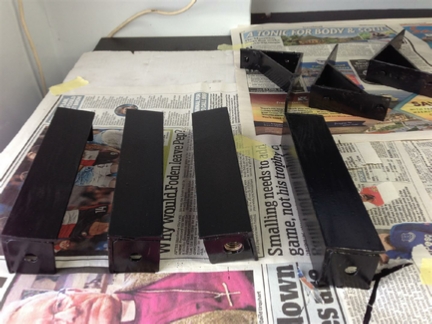
and time for some leg paint.
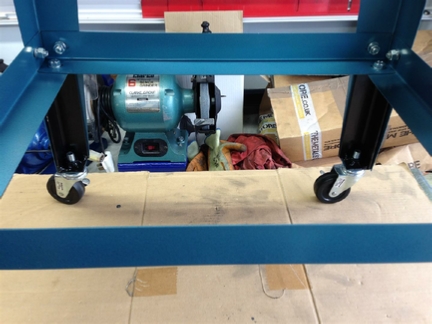
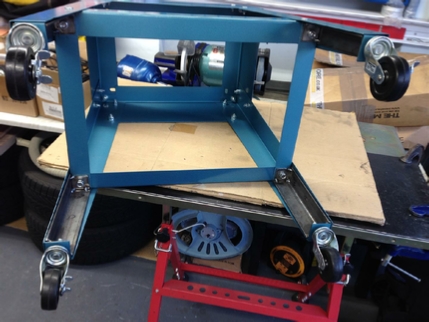
and putting it all together.
It’s looking good!
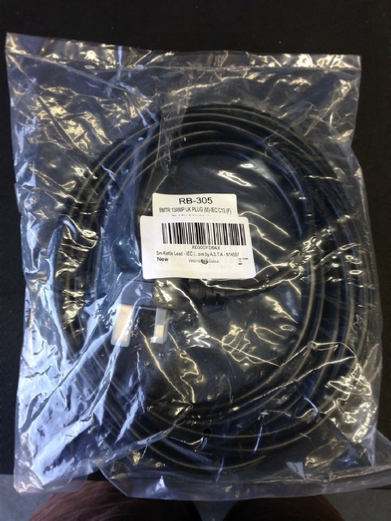
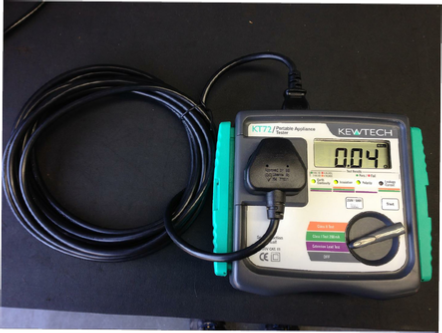
A quick test of the new mains lead, and yes I did do a re-test with the belt sander turned on, after fitting the new lead.
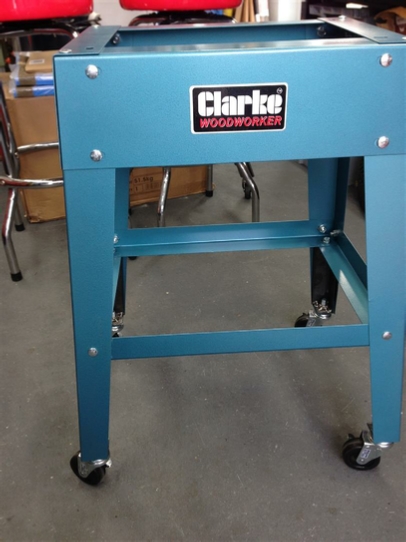
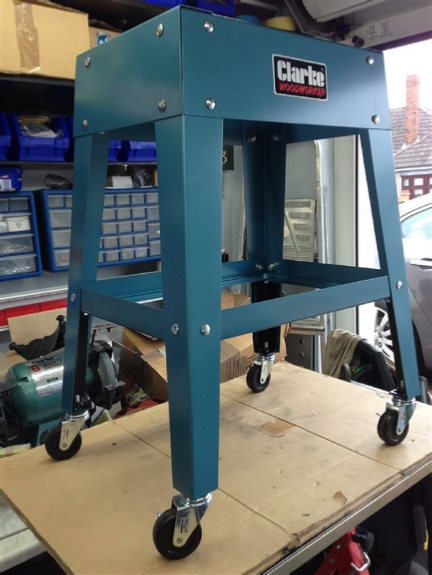
The finished unit, or is it?
If you are going to work with steel, we still need to do two things:
1, replace those aluminium oxide (wood) belts, not with Zirconia, but with Ceramic.
Harder and tougher.
So let’s do that now:
I found these on Ebay from Abtec4abrasives:
And…..
2, Speed up the belt. As I said 5.6Mtr/second is ok for wood, where you do not want to burn it, but we are working with steel.
However, you will have to wait for part two: Belt Sander Pulley Modification (or just go there now!)
Another project completed
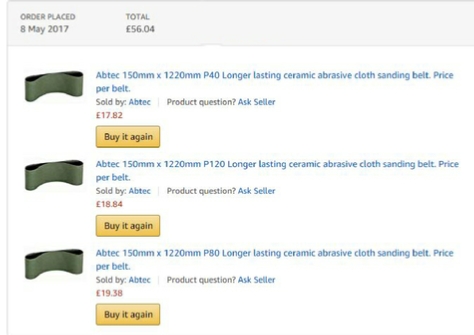
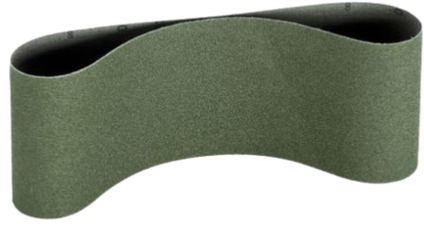
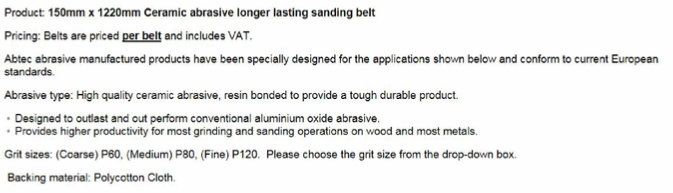
I have used Abtec4abrasives and found there products to be good, so I purchased the three belts on the left from them.
The 150mm x 1220 Ceramic belt on Ebay can be found here:
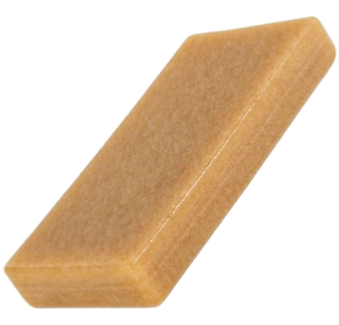
If you are going to use these high quality belts you MUST also use a cleaner block. I found this one also on Ebay. Check out the link here.
Project Date: 2 June 2018
| Rage 3 Saw |
| ESAB Welder |
| Cros-Arc Plasma |
| HHO |
| Spot Welding |
| Betty's Gates |
| Car Headlights |
| Julia's Dartboard |
| Outside Light Base |
| Weather Vane |
| Geoff's Gates |
| Loft Hoist |
| Colin Laser Mount |