


Web Site by cg-photohraphy.co.uk


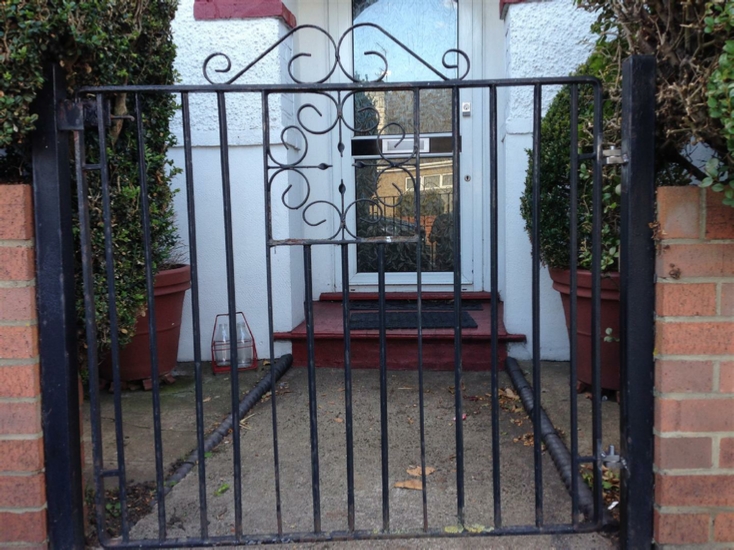
After I did Betty’s gate, I offered the same service to Geoff my neighbour two doors up, on the other side. I noticed that he and his wife always had to lift their gate to open it. A quick look revealed that the hinges on the gate had opened out, as it had been lifted so many times over the years.
My first thought was ‘simply replace the hinge on the gate’ by purchasing a piece steel drilling a hold and welding it in place, simple!
So it was back to one of my favoured places, ‘Home and Workshop Machinery’, to see what I could find.
Again the search did not disappoint, I found a nice piece of bright steel bar, 25 x 12.7 (or 1inch x 1/2inch), and about 12” long, perfect for the job.
Geoff’s Gates
Project Date: 5 Oct 2018
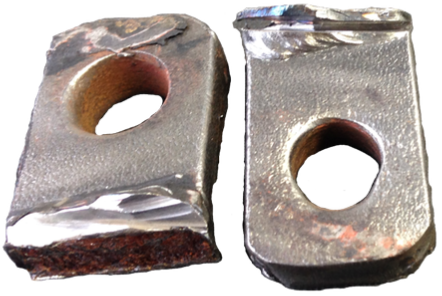
These are the gate hinges after cutting them from the gates with the angle grinder. As you can see the ‘holes’ aren't exactly round.
I don't have any pictures if the hinge pins but they were completely destroyed, only half the size of what they should have been.
I assume that this was due to years , and years of lifting the gates up.
So must also be replaced! And to be honest I had not bargained for that.
I now have two problems:
1, I now have to not only make hinge, I also now need to make a second hinge plate, and spindle.
2, If I cut the hinge plate from the gate post I have to find some way of welding it back on. As I only have my welder set for gas welding, and no flux core wire.
Problem number 1 I already have enough steel to make some more hinges, all I need is to find some mild steel for the hinge pins, and turn these on the lathe.
Problem number 2, was going to be more complicated. My ESAB welder was only designed to take 5kg reels of welding wire, and I did not want to purchase that much of a reel of flux core wire to do one job.
So this because a project within it’s own right. You can view this project here, under the ‘Equipment Projects’ section, ‘Esab Welder Small Reel Back Plate’.
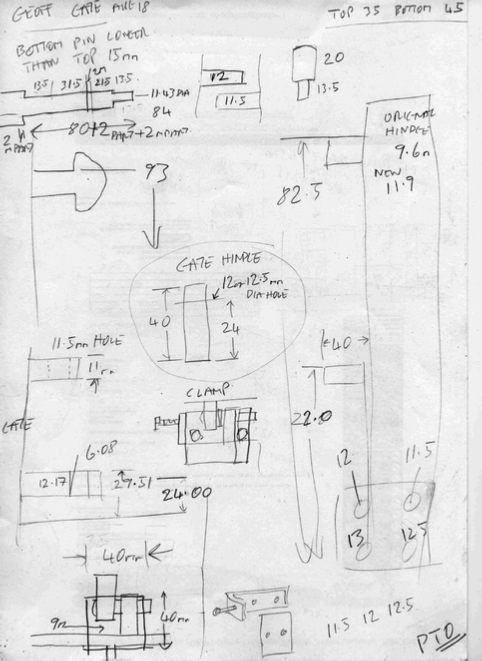
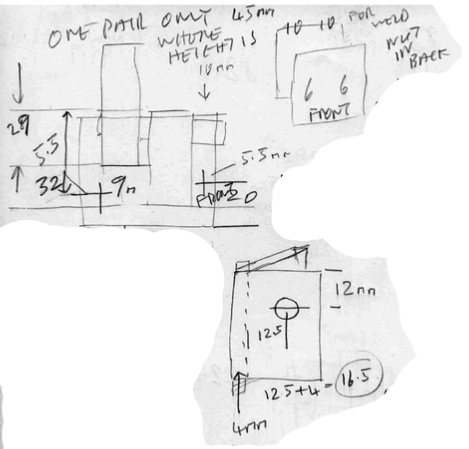
My thinking and notes are on the left.
Essentially, my problem was how to keep the gate, the hinges, and the hinge pins all aligned. So that the gates would swing freely like a gate should?
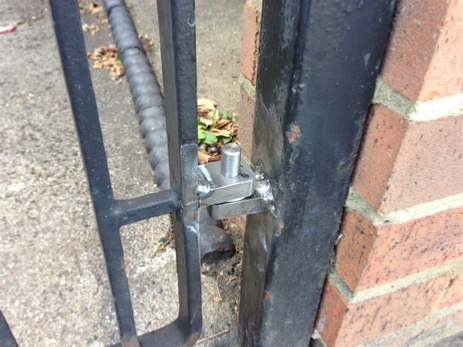
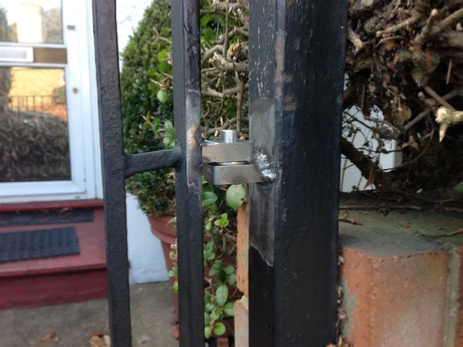
I decided to make the hinge pin different sizes at each end. In that way if I placed the pin into the hinge plate on the post it would only go down so far and stop, as the top of the pin would be of a larger diameter.
This would also self level the pin.
As I needed to work out two sizes for the pins, one top and the other bottom.
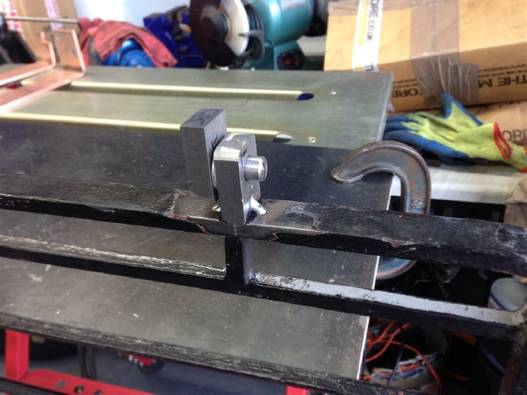
I created a steel test piece which is on the left.
I drilled holes using the following drills, 11.5, 12, 12.5 and 13mm.
In this way I could turn the pins on the lathe and test them for tightness as I went.
The pins had to be a good fit, but not too loose or too tight.
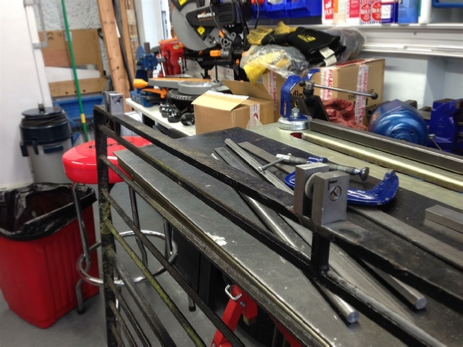
Luckily for me when I came to cut the steel for the hinges, I had already purchased my new Evolution Rage 2 saw, so that I could hold the smaller steel parts and cut them.
I also had by this time my belt sander fully functional so getting the faces square and flat was also no problem.
Both hinge plates and hinge pins are now made and being test fitted to the gate.
Both sets fit and things look good.
Getting the gate hinge fitted square is no problem, and it is tack welded in place.
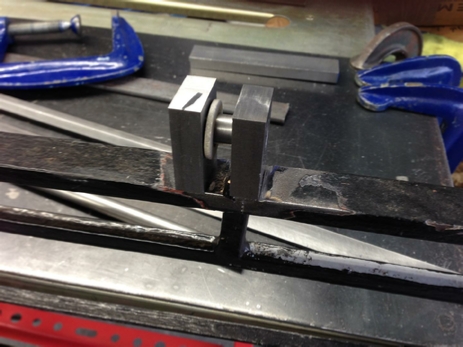
What I now decided to do was make a couple of jigs to hold the gate post part of the hinge, tightly and square to the gate hinge plate. In this way I could weld the plate to the gate post and know that things were going to all line up.
Now you might think that this is just a waste of time?
But to be honest it will take all of the drama out of welding the gate into place.
I can also make these in the workshop taking my time to get them right, and once made I can use them over and over again.
My view is this is the right thing to do!
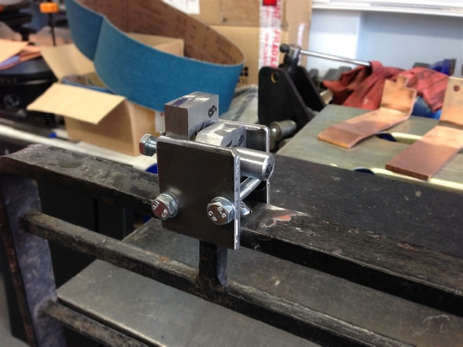
This is the jig (or one of them) now bolted in place, holding the pin and post hinge plate in place, ready to be welded.
Notice the bolt placed opposite the hinge pin holding it under tension, to stop it moving.
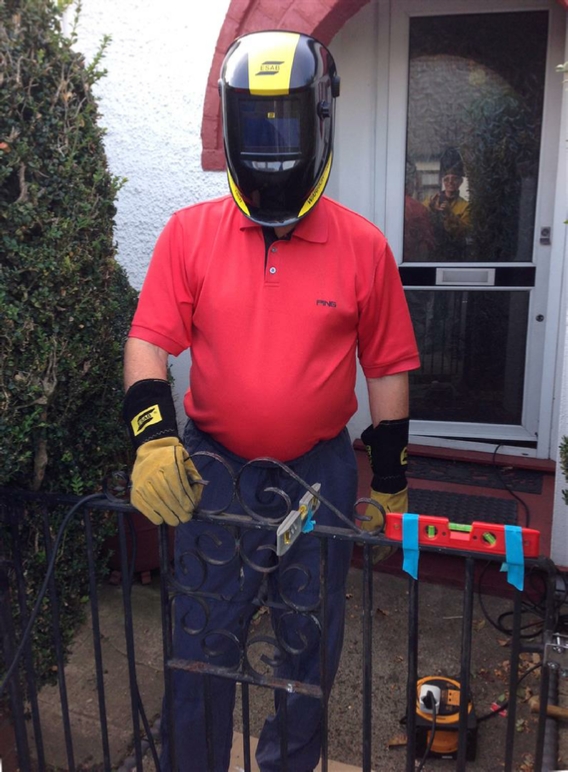
Finally the day had arrived, I converted the ESAB to flux core wire, placed two small spirit levels on the gate, and got Geoff my neighbour to hold the gate in place whilst I welded it.
Now unlike ‘Orange County Choppers’, who seem just to close their eyes, when welding, I kitted Geoff out in a second set of my welding gear.
Safety first always. See the Picture below.
The jig’s worked just fine and held everything in place.
The flux core conversion of my ESAB also worked very well.
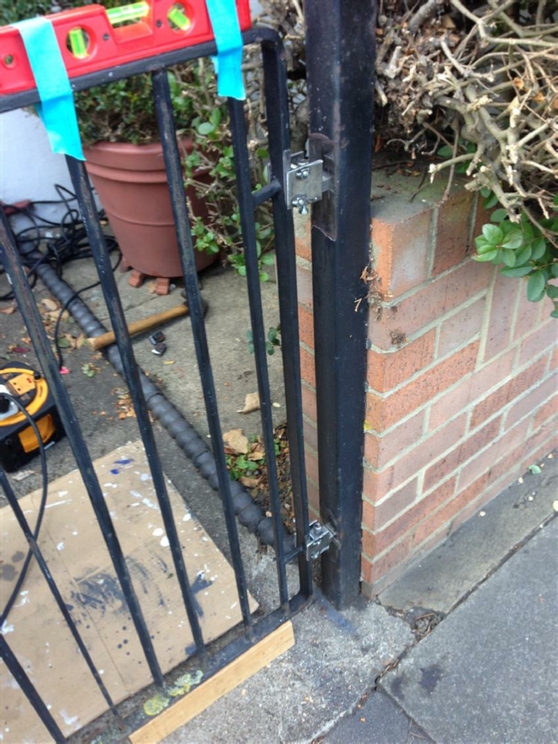
One thing that I forgot to mention was, if you look at the two pictures on the left you will notice that the top and bottom pin are different lengths?
Why don’t other people do this?
It makes replacing the gate back on the post so much easer. Because you can locate the bottom pin and then engage the top pin without it wandering off!
One final piece of trepidation with this job would the gate lift off?
…and yes it was perfectly square and came off and went back just fine.
I had to make one minor adjustment to the latch plate, using the angle grinder, as it was catching when you tried to close the gate, this happened after a couple of months’ of use.
Other than that, all Geoff has to do it paint it.
| Rage 3 Saw |
| ESAB Welder |
| Cros-Arc Plasma |
| HHO |
| Spot Welding |
| Betty's Gates |
| Car Headlights |
| Julia's Dartboard |
| Outside Light Base |
| Weather Vane |
| Geoff's Gates |
| Loft Hoist |
| Colin Laser Mount |