


Web Site by cg-photohraphy.co.uk


This was an interesting project, which came about because I needed to complete an outside welding project Geoff’s Gates in fact.
All of the welding that I have done (so far) inside the workshop, with my ESAB welder I do using gas, the finish from the final weld using a shielding gas is far superior that using flux core wire.
However, there is one situation where trying to use a shielding gas is definitely a no,no?, and that is when you are welding outside. Why? Because the wind, will simply blow the shielding gas away!
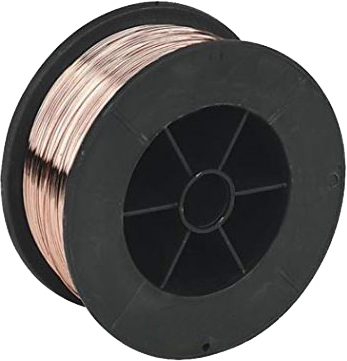
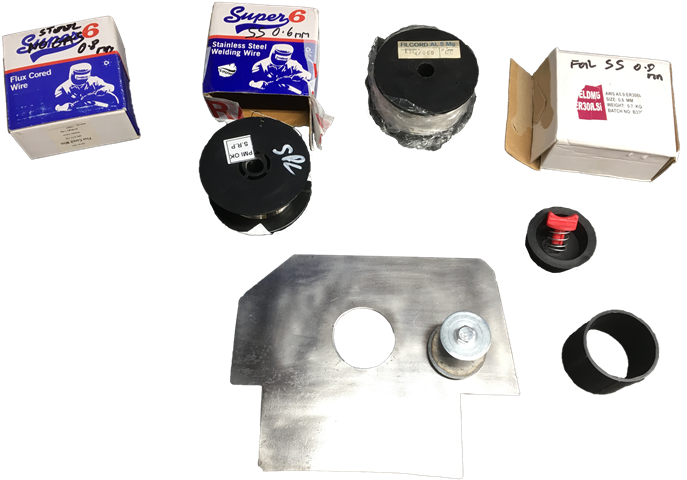
Now, because I only possibly had one outside welding project, I did not want to purchase a large roll of flux core wire. So I just purchased a small reel. See pictures below:
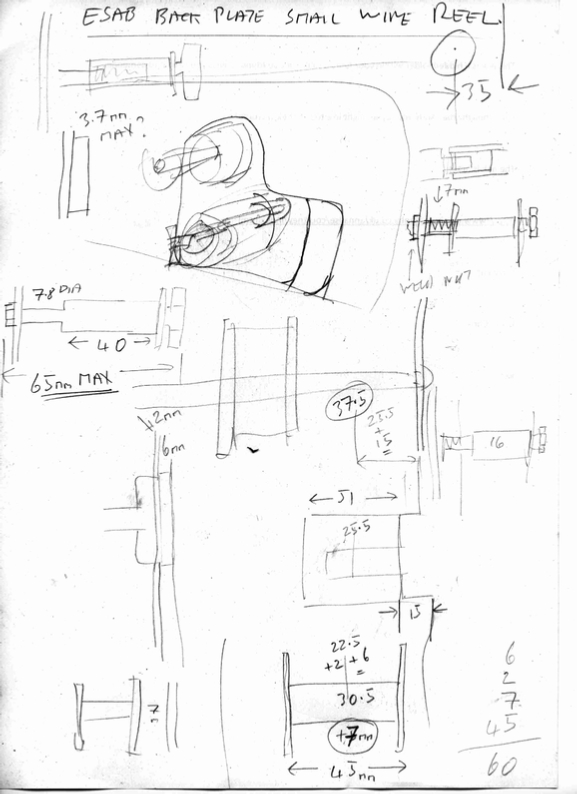
Esab Welder Small Reel Back Plate
Project Date: 18 Aug 2018
Now I had already encountered a reel like the one above, where the centre of the reel is far too small to fit onto the spindle of my ESAB welding machine.
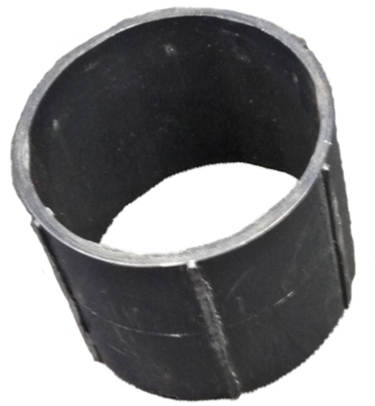
However, by cutting out the centre of one of my old MiG reels, it was a nice tight fit, into the centre of the one above, after cutting out what you can see.
The old MiG reel centre is below:
Now, if you check the picture of the MiG reel above you will see this is yet another type of centre arrangement?
Why so many?
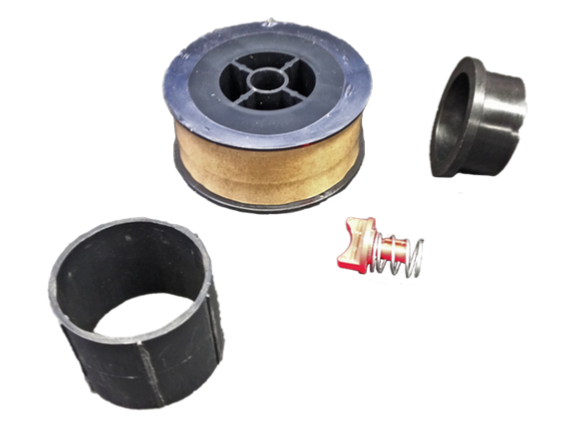
This is the centre of the flux core wire that we have to fit to the ESAB.
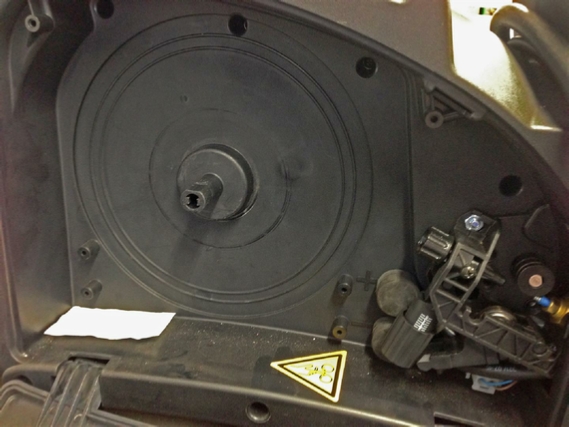
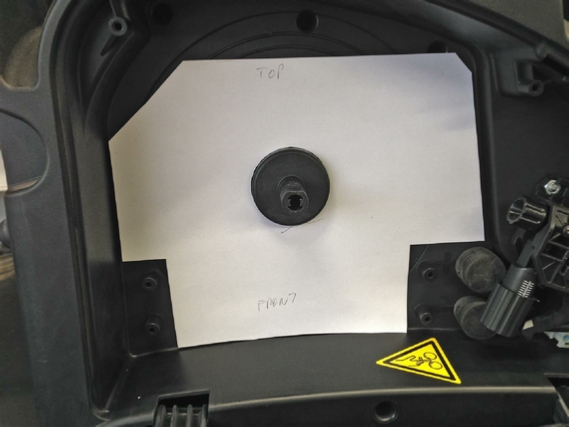
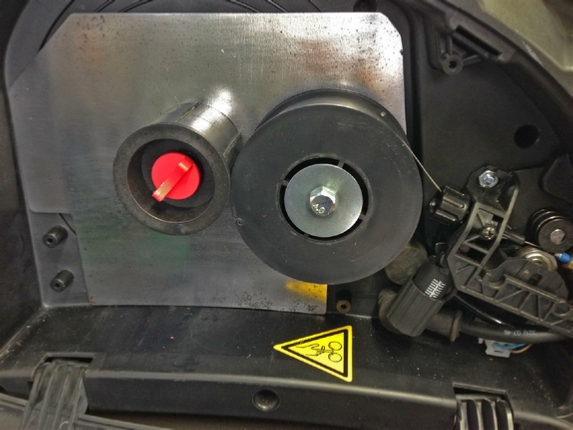
This is what the inside of the ESAB caddy MiG welder looks like. The central spindle is designed to take a 5kg drum of MiG wire, and this is all.
That is our problem, and that is what we are going to fix.
Now you may be saying ‘Why bother, why not just buy the larger reels of various types of MiG wire and be done with it’? Well cost for one thing, and not all MiG wires are the same. There are hundreds of makes, consistently and types. If you can accommodate all different sizes of reels you can purchase the smaller sizes and give them a try. If it works out ok, go buy the larger one, if you need to.
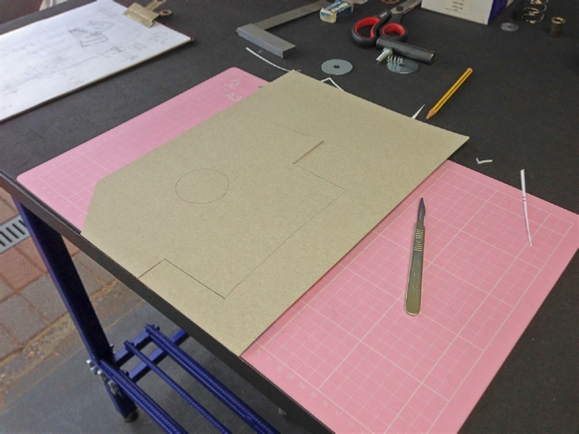
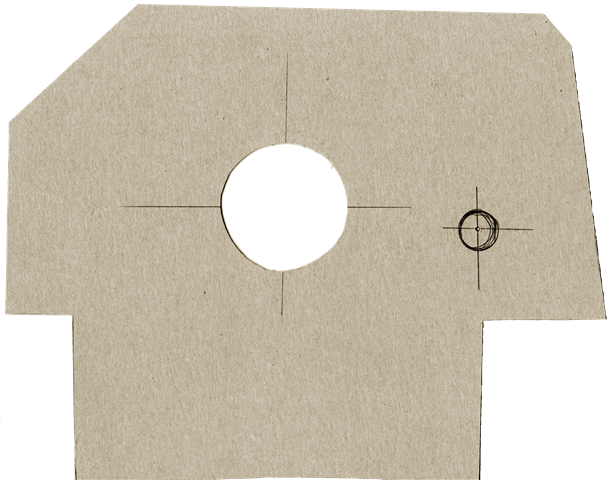
First thing to do is make a paper template for the steel backing plate that I need to plasma cut.
This is what I decided to do.
The template was a good fit.
The only problem was how do I hold it in place, when that 0.7kg of welding wire was tensioned and being dragged through those guide rollers?
The plan was to find the best position to mount the new role of MiG wire, so that it could be fed into the feed roller guides, and turn without being obstructed.
Then to create a new tensioned spindle and holder cap.
As there was virtually no room behind the backplate. I decided to use a weldnut and thin it out to act as a mount to keep the plate level.
I also got around the problem of holding the plate in place, by using that old plastic reel centre and the original ESAB reel mounting parts, which of course fit perfectly.
I traced this cardboard image on to a 2mm steel plate, fired up the trusted Cros-Arc and cut the shape out, which took less than 2 minutes. Then did a test fit inside the ESAB. See picture below.
Once I had cut out the cardboard template I could mark out the best position for the new spindle to go.
I then decided to create a thicker cardboard template that was closer to the thickness of steel plate I was going to use just to double check.
This is the paper template.


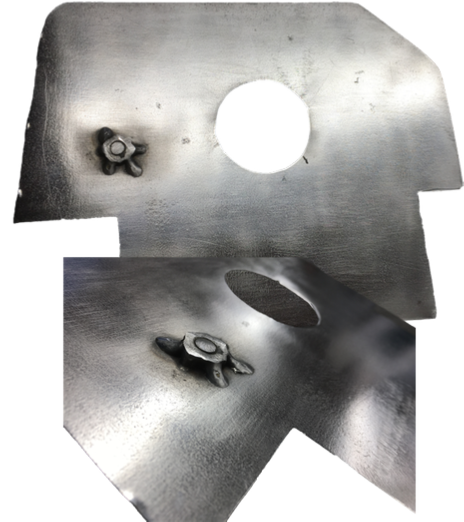
The Cros-Arc did a first class job, as always,the back plate was a perfect fit.
I added the spindle via the weldnut.
These are all of the small reels that I can now just drop straight into the ESAB.
Another great project finished!
I now have am ESAB welder that can use any of the small sized reels of MiG wire that I want.
It worked perfectly on Geoff’s Gates project, running this reel of Flux Core MiG wire.
Another project done!
What we need to do is create a mounting plate that will fit inside the ESAB and hold the MiG wire under tension. This needs to be done to stop the wire unravelling and turning into a ‘birds nest’.
If you have ever changed the MiG wire reel and accidentally let go of the wire, you will know exactly what I mean!!!!!
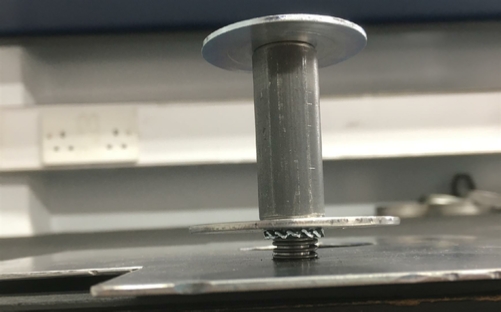
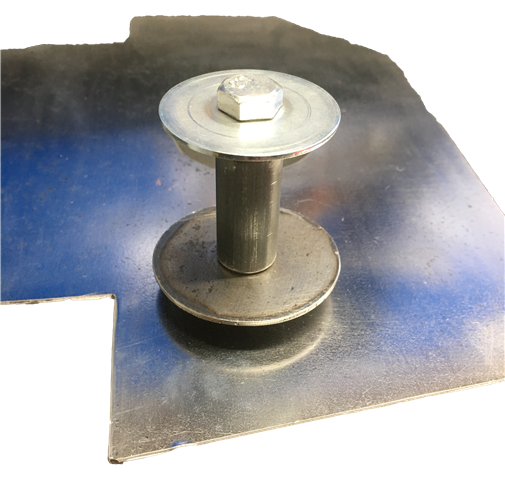
Close up of the new spindle, notice the sprung loaded bottom plate for the reel tension.
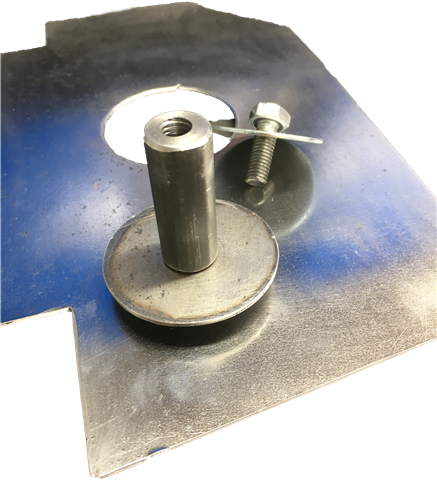
This is the cut down weldnut
Coil spring and serrated washer.
This shows the back of the back plate.
The spindle is threaded to allow the fitting of the reel.
Make sure that the threading is in the right direction to tighten on the reel as it turns.
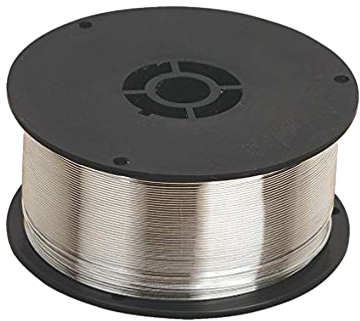
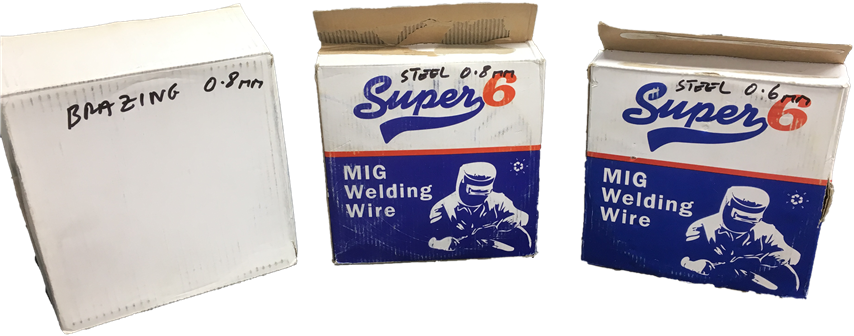
These are the standard 5kg reels of welding wire, these will fit into the machine without any modifications.
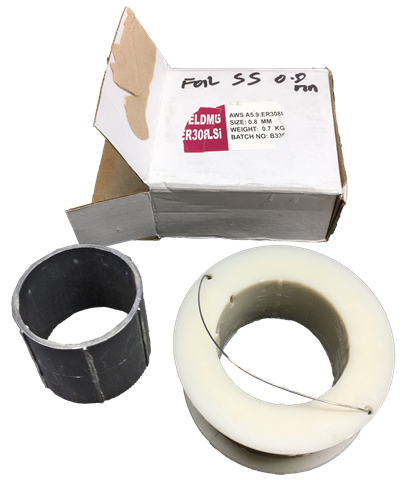
This is the small reel of stainless steel MiG wire that I need to salvage the centre of and old reel for. I removed the old white centre, this was before I had made the new backplate.
| Rage 3 Saw |
| ESAB Welder |
| Cros-Arc Plasma |
| HHO |
| Spot Welding |
| Betty's Gates |
| Car Headlights |
| Julia's Dartboard |
| Outside Light Base |
| Weather Vane |
| Geoff's Gates |
| Loft Hoist |
| Colin Laser Mount |