


Web Site by cg-photohraphy.co.uk


You may be asking yourself ‘why do you want a Ring Roller, and what does it do anyway’?
As I am now retired, with a workshop that is getting more, and more equipment everyday.
You need to cover all of the bases, as you never know what someone is going to ask you to do!
I already have a metal bender, and a scrolling attachment for it, not removed from the box so far.
Rolling rings with steel bar, round bar, or even pipe, allows you to create metal projects in another way that you simply could not do without the right equipment. One of the things I was going to do when the workshop was finished was turn my hand to making garden furniture, hanging baskets, gates, and, well the list is endless.
However, don’t let anyone tell you that you do not need the right equipment, because you do!
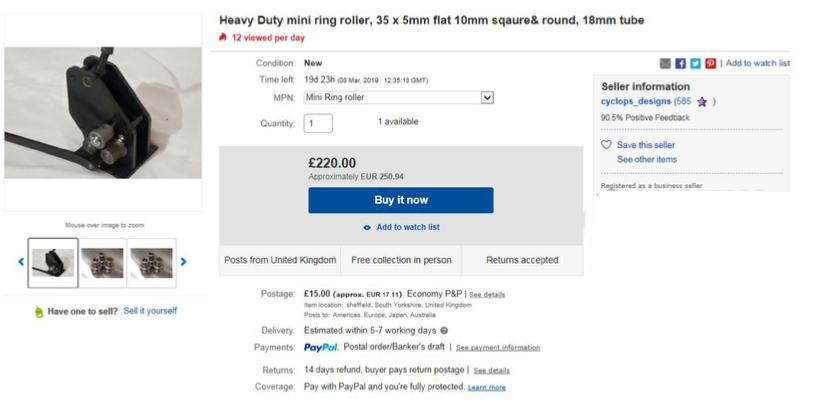
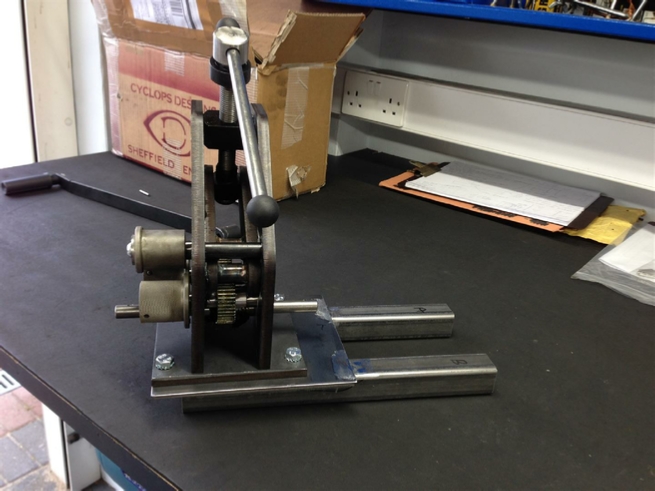
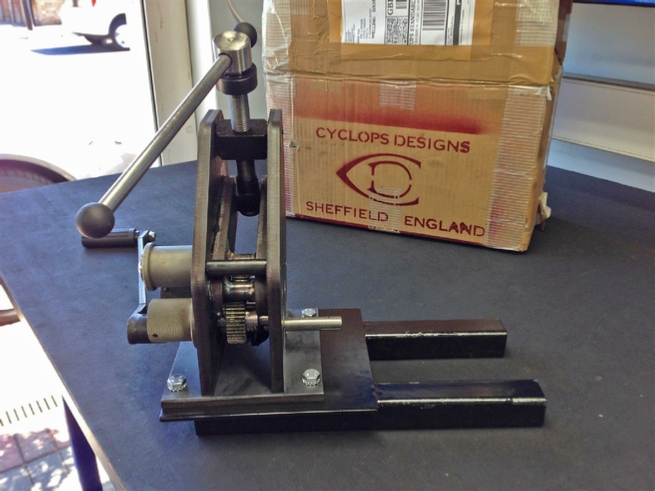
I looked around at ring rollers on Ebay and Amazon however, most of them did not look as though they could cope with the thickness of the steel that I wanted to work with. I then found Cyclops Designs here in the UK, in Sheffield. Better still they made attachments for rolling tubing and round bar.
It could roll 35x5mm Flat Bar.
10mm Square & Round Bar
and 18mm Tube.
If you purchase the right attachments that is.
..and by the looks of the pictures, it could fold your car as well (no, only kidding) but is certainly looked a beast. I just had to have one. See their ad below.
Cyclops Designs Ring Roller & Mount
Project Date: 22 June 2018
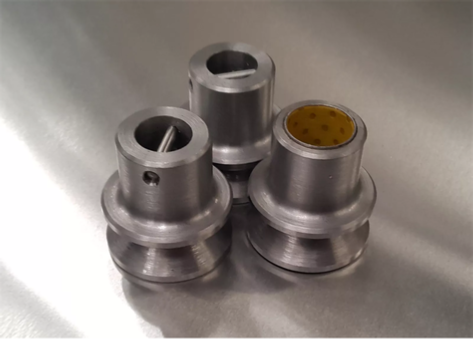
Accessories for the roller are listed as:
V Groove dies £36
Tube dies up to 13mm 1/2” £39
Tube dies from 14mm to 18mm £36
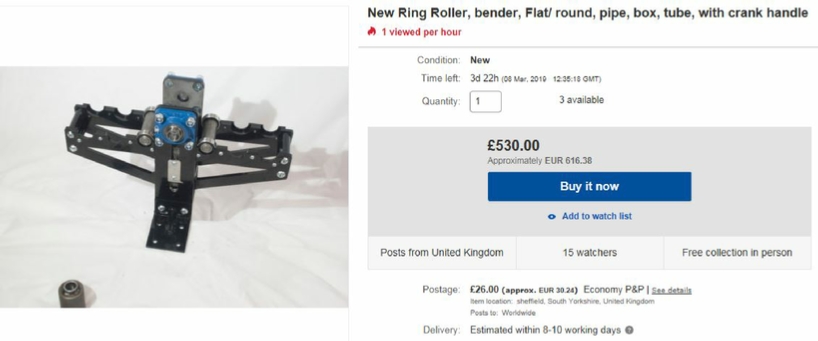
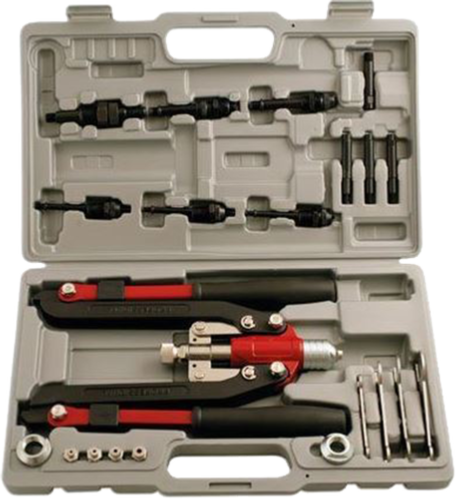
As of today (March 2019) according to the current Ebay ad they are saying that this ring roller is currently not available. They do however seem to have a newer but much larger model. See the picture below.
It’s worth however, giving Tom of Cyclops Designs a call.


Take a look at these three videos below, from Cyclops Designs:
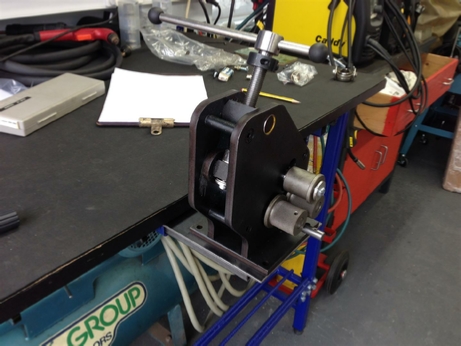
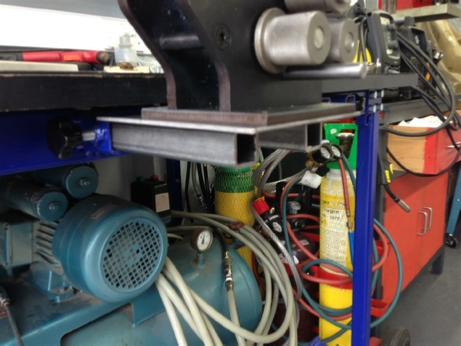
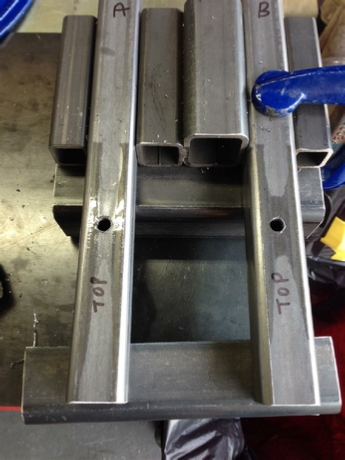
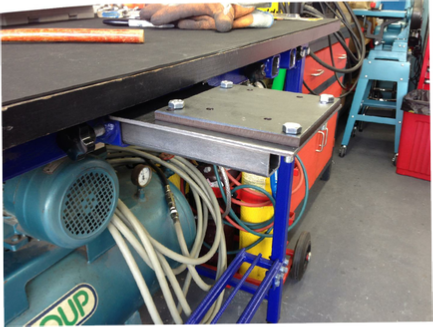
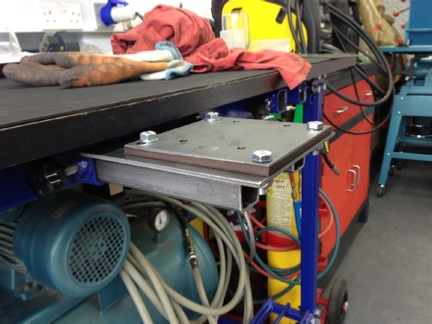
The new ring roller will need another one of those low ‘Quick Release Mounts’, because you will have to turn the handle to move the steel through the rollers, and you don’t want to stand on a box to do it! We also have another problem, the mounting plate that the ring roller is on, is narrow just slightly wider that the box section for the Quick Release Mount in fact.
What I don’t want to do is have a long mounting bolt sticking out mid way along the mount, so we will have to find another solution.
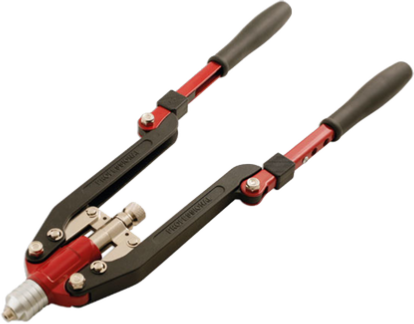
You know, whenever I purchase a new tool I just know it’s purchase is worth while. I had just purchased a very nice Laser 3736 Riveter, this one does Rivnuts, and that is what we are going to use.
A more full explanation of that tool can be found on the Equipment page.
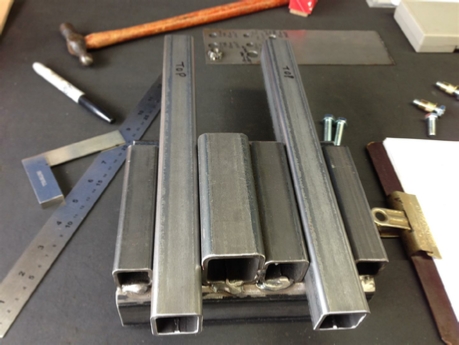
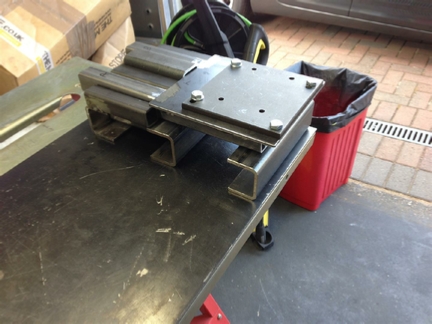
We start with a mock-up, just to see if it’s all going to fit.
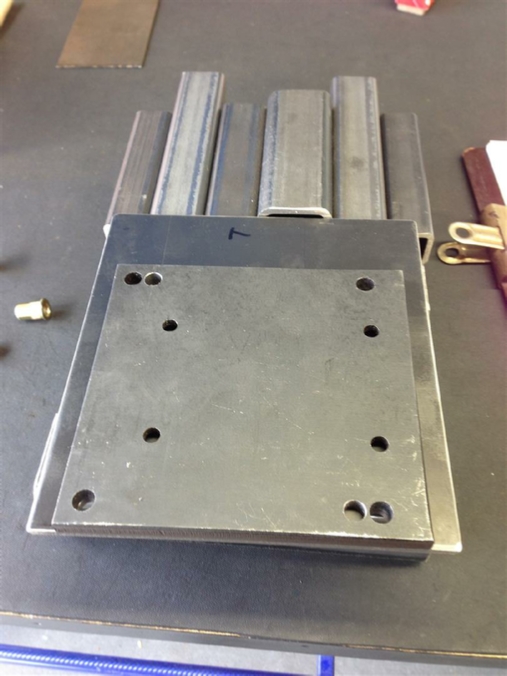
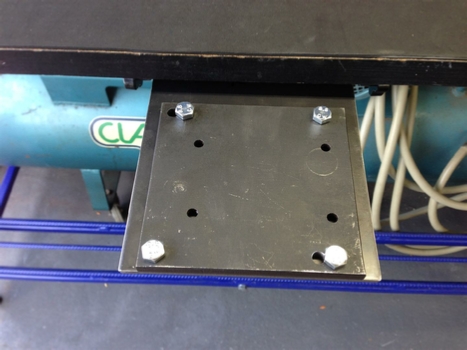
You can see the thickness of the ring roller mounting plate?
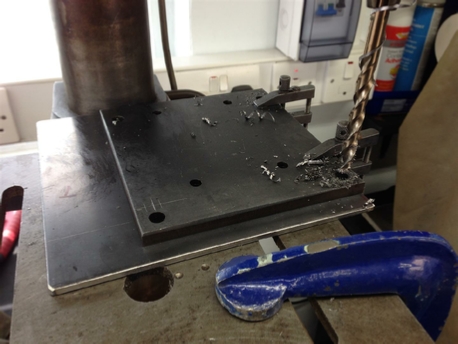
I really did not want to do this, but if the Ring Roller is going to be fitted to the Quick Realise Mount, drilling these fixing holes was going to be necessary.
The front mounting holes were not a problem, as the fixing bolts go straight through into some weldnuts, job done.
However, those back ones!
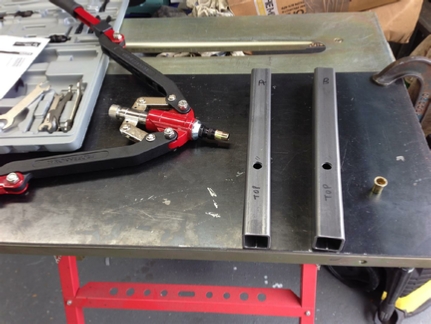
Time for that Quick Release Jig again.

Just in case you were wondering what happened, to the Ring Roller whilst I had the base removed here it is!
There is no way I wanted ANY of those gears to get free.
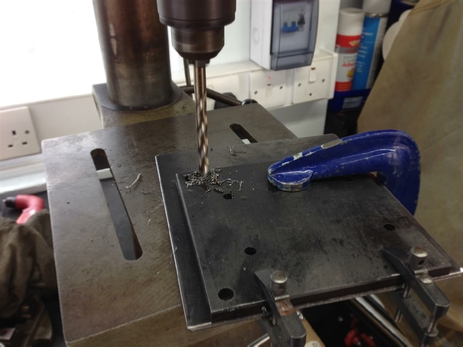
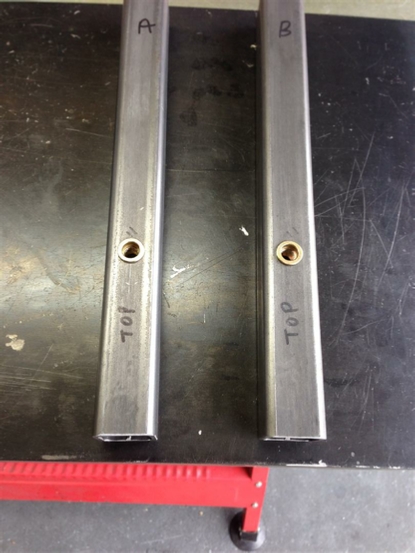
Time to drill those back holes, the ones that will go though the Quick Release mounting arms.
Now for some dodgy drilling. I really don’t like drilling holes freehand, but I simply could not clamp this lot onto the drilling machine table.
So needs must…and all that!

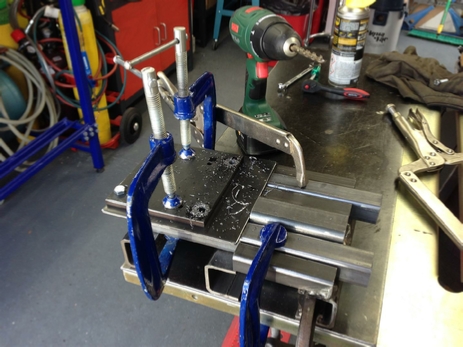
Slowly,slowly.
I have to say that those Cobalt drills worked very well.
These are the back mounting holes, where the Rivnuts will be located.
Time for another look-see, just making sure all of the holes lineup.
Time to get those Rivnuts out.
Rivnuts now fitted into the Quick Release mounting arms.
Final fit up before getting ready to weld it all together.
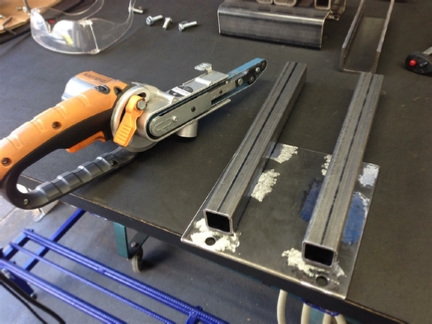
Out with the Evolution electric file. If you are going to MiG welding you must clean off that mill scale.
Back into the jig one last time for the welding.
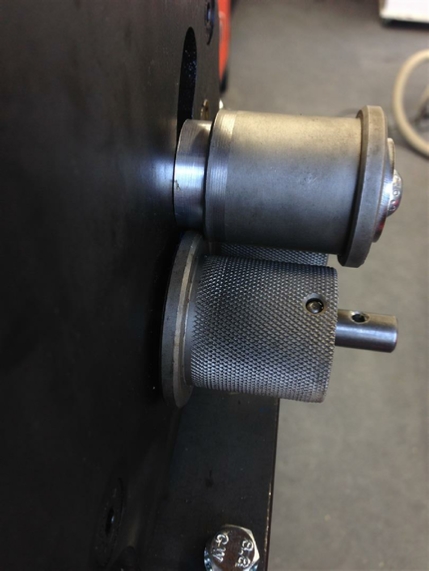
One little trick that I forgot to mention, was that I counter bored, the hole in the Ring Roller mounting plate. In this way it could sit flush on the Quick Release mounting arms.
The front mounts don’t need this as they use Weldnuts as you can see.
The finished Quick Release mount with the Ring Roller now re-assembled.
A quick dab of black paint on that mounting, and it’s ready to go, or is it?
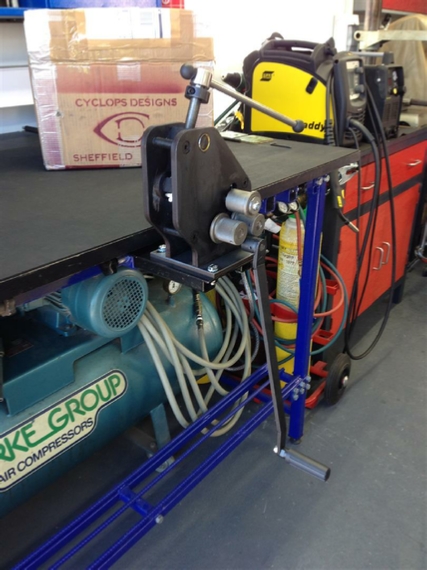
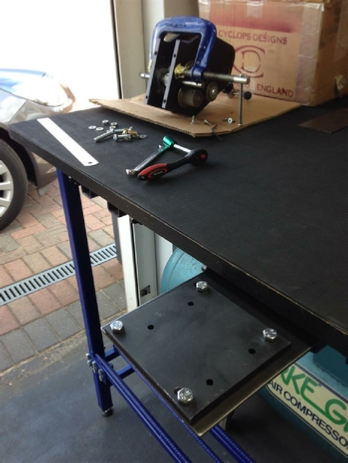
Mounted on the bench and ready for it’s first test run.
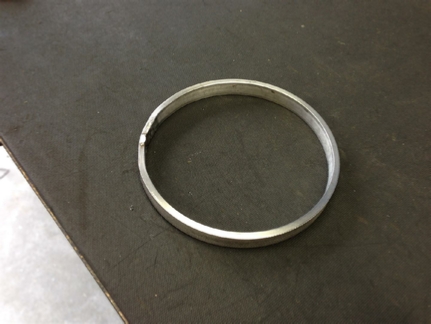
And this is it, my first steel, 10x3mm ring.
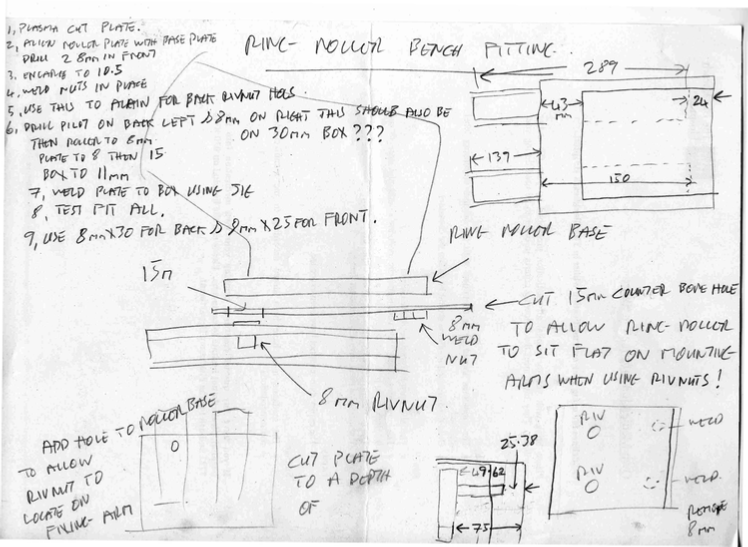
These are my notes, and this is what we are going to make.
We only have to fit two Rivnuts.
So I did have a problem, if the material you are working with is under about 4mm, this allows the top roller to get caught on the bottom roller, which is a right pain.
So we are going to fix this problem, right now.
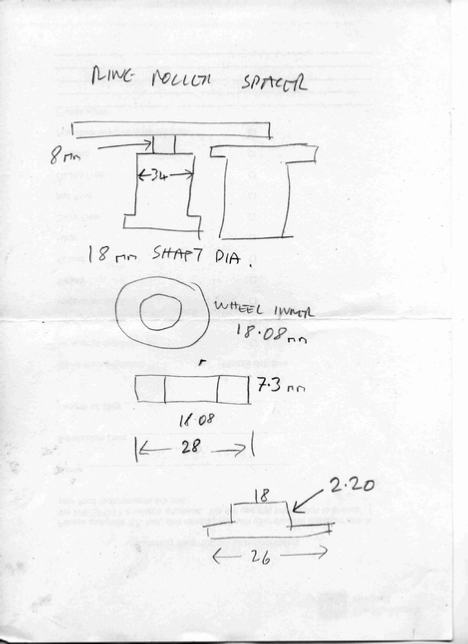
All this needs is a spacer added to the top roller shaft. Which I did using the lathe and it worked a treat.
You can see the spacer, at the back of the top roller, and the mark that got left before I added the spacer when the top roller touched the bottom one!
I have used the Ring Roller since in one or two projects, look out for it’s use!
Another project completed!
| Rage 3 Saw |
| ESAB Welder |
| Cros-Arc Plasma |
| HHO |
| Spot Welding |
| Betty's Gates |
| Car Headlights |
| Julia's Dartboard |
| Outside Light Base |
| Weather Vane |
| Geoff's Gates |
| Loft Hoist |
| Colin Laser Mount |