


Web Site by cg-photohraphy.co.uk


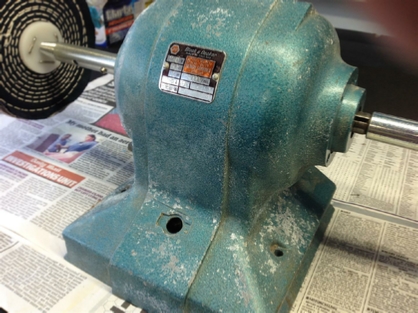
I have already stated the my Father passed away nine years ago, as it is now 2019. Apart from his, lathe, drilling machine, and vice, I also acquired a 6” bench grinder. Now this bench grinder was left on my workshop floor, for about nine years and had started to rust. I really wanted to keep this as it belonged to him, and put it to use. Now I already had a bench grinder, and so decided to turn it into a linisher for polishing metal.
First I would have to take it apart at least the outer wheel covers as I no longer needed them. The aluminium casing was also looking bad, and the mains power leaded was also dubious. So where to start?
I suppose removing the screws that held those wheel covers in place, except that they were rusted in. I did try a long screwdriver but that nearly rounded one of the heads off. Then I thought ‘hang on a minute, I have just the thing’.
I removed the cutting head from my oxy-acetylene torch, and replaced it with the smallest torch head I had, the 000 size, and fired up the system.
I am not joking, as fast as I heated up the screws they virtually fell out, no resistance at all.
Linisher and Mount
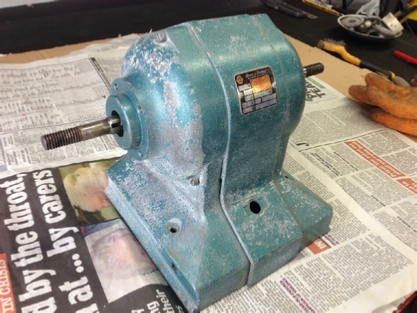
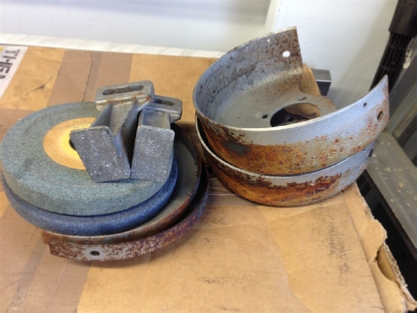
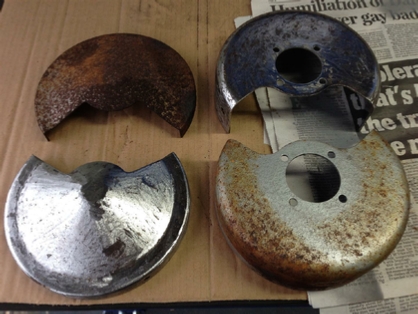
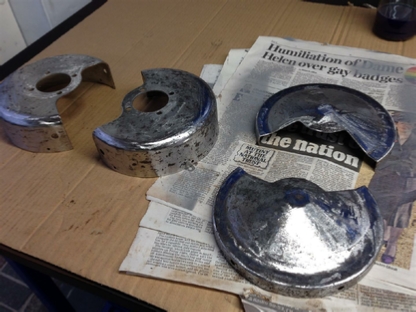
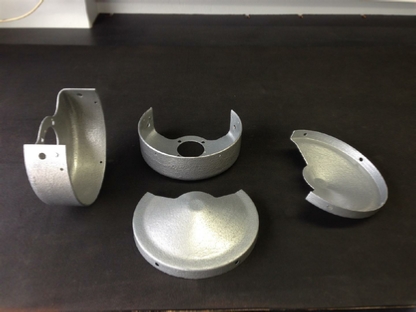
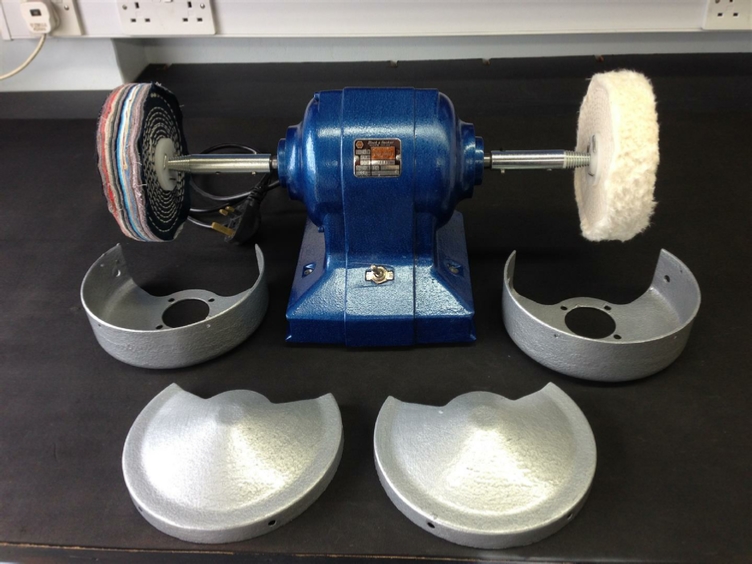
As you can see from the pictures, it had seen better days. I use my Air DA and some Roloc wheels, making sure I wore a mask to remove the rust from the wheel covers. I knew that I wasn’t going to re-use them, but wanted to do justice to my Father’s unit by doing a full restore!
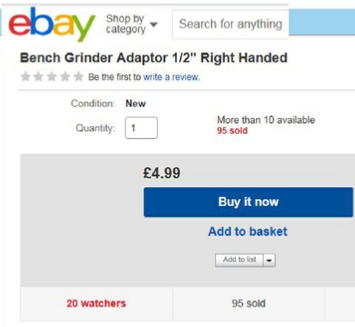
Found this on Ebay as you can see
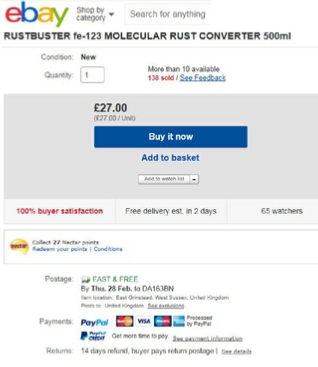
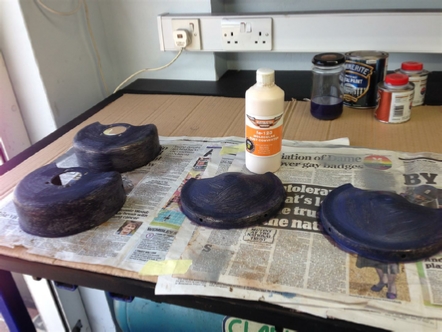
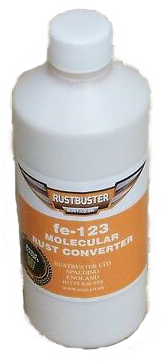
I then used ‘Rust Buster’ a fe-123 solution on the steel parts. Funnily enough, this same solution was Edd China’s favourite solution for rust busting, on his car show ‘Wheeler Dealers'. It is one of the best that I have use. Check out the videos below:
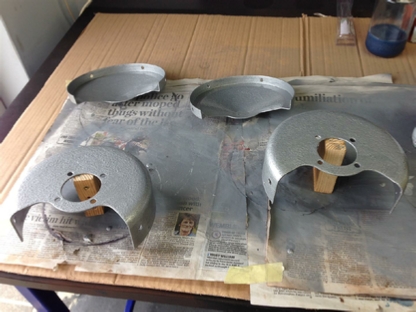
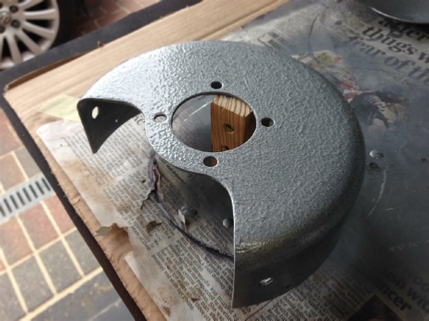
After the rust treatment some Hammerite for the wheel shields.
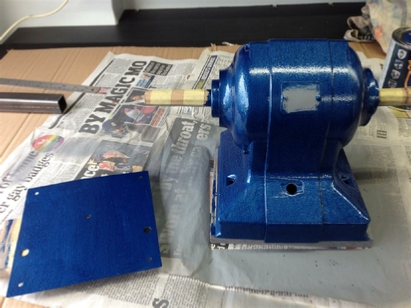
Some Etch primer for the aluminium.
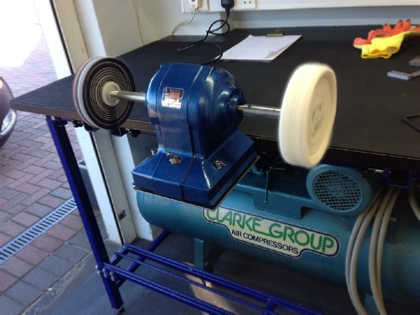
This is the fully restored machine, with both adapters fitted, not forgetting a new mains lead, & PAT testing.
Now all we need is one of those Quick Release Bench Mounts, don’t go away, it’s up next!
I won’t go into too much detail about the mount as by now you will have seen it all before. Except I will say this. One big advantage to designing a system, whatever it may be, you are the master of it’s design. In this way you can adapt it to what ever comes along.
This is one of those instances.
The Linisher needs to have side access, for the metal you are polishing. Likewise if you are polishing something like a brass step tread, which I have done. You will need to have access underneath the wheel because this type on item is going to be quite long.
To this end the Linisher will need to be mounted forward on the bench line, bear that in mind as we go!
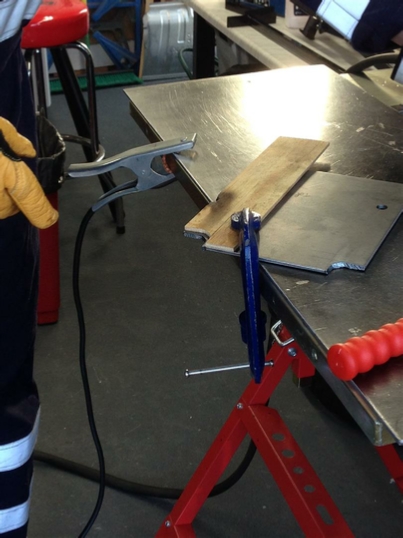
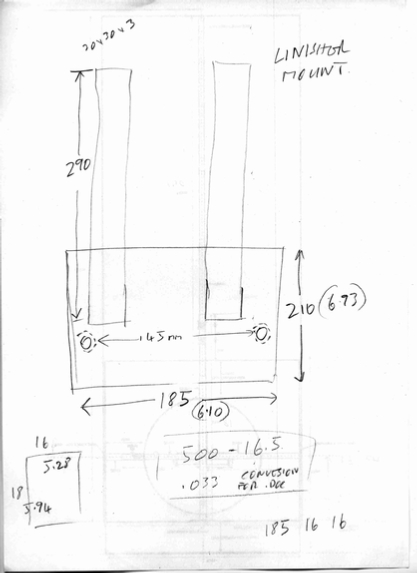
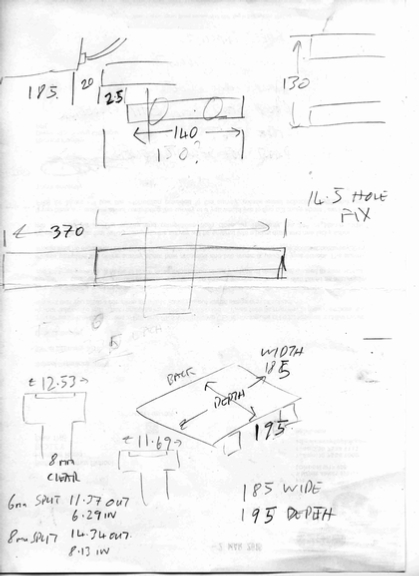
First of all I need to cut the top plate for the mount, as I said this one is going to be different.
My design notes are below:
Before I show you the finished linisher there are some more items to purchase. First what are you going to polish with? Because linishing is an art it it’s self. So to start things off, I found this kit in Machine Mart its a basic two wheel kit, with a green polishing bar. By the way this green bar is best suited to steel. Have a look below:
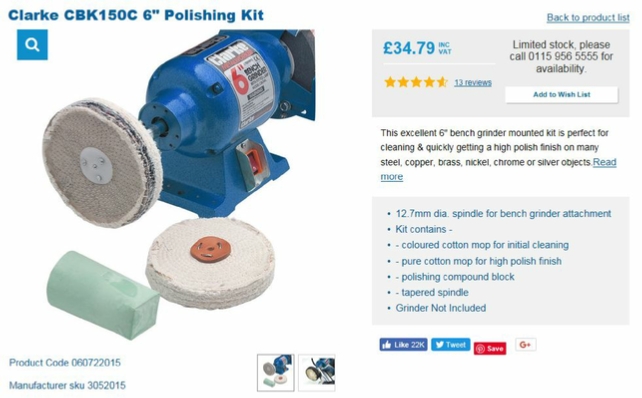
This kit comes with a single left hand adapter, but two wheels, and for the money should I think come with a second right hand adapter. In this way you can run two polishing wheels at the same time. Never fear Ebay is your friend.

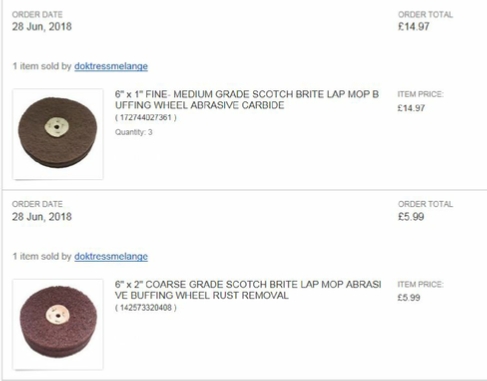
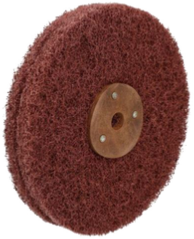
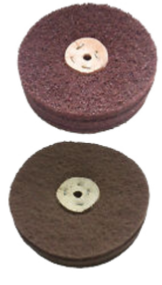
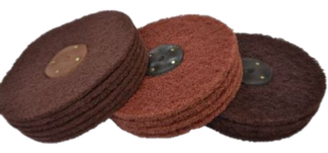
One other thing I did purchase was some Scotch Brite mops. You can get these in Fine, Medium and Course. As I had a 6” grinder I needed 6” mops, but you can get these in various widths. I will not put any links to them here. But you can find them on Ebay and Amazon.
One word of caution, these will disintegrate during use, so expect this, it is just how they wear down.
These mops are also best suited to harder metals, like Steel and Stainless rather that Brass or Aluminium.
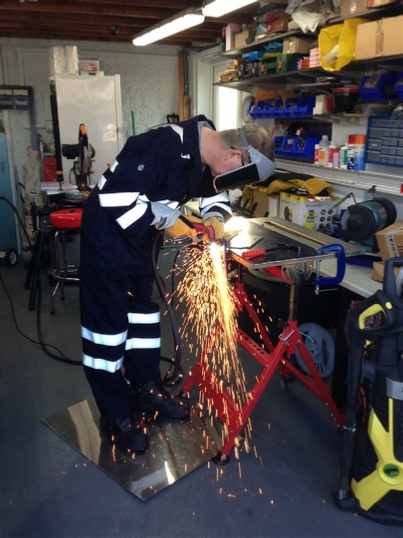

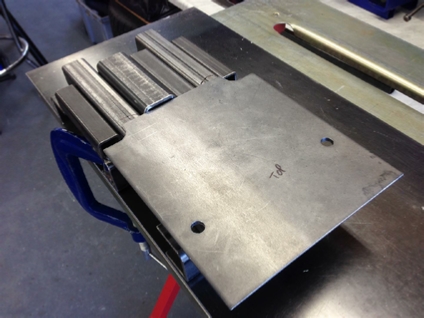
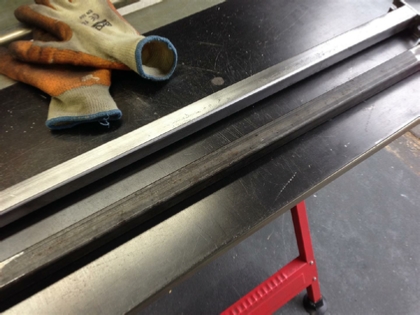
I needed to put a radius on both corners so I used a plywood template and the plasma cutter, job done!
Ready for welding
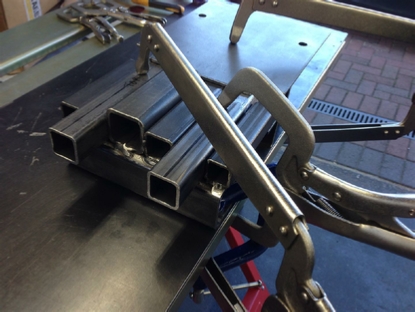
Notice the quick release jig being used?
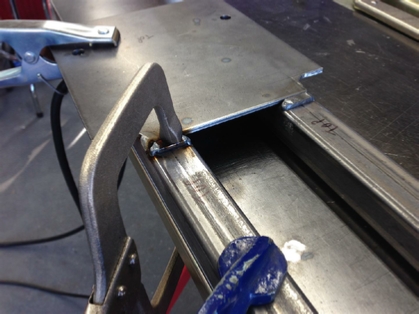
Notice the weldnuts?
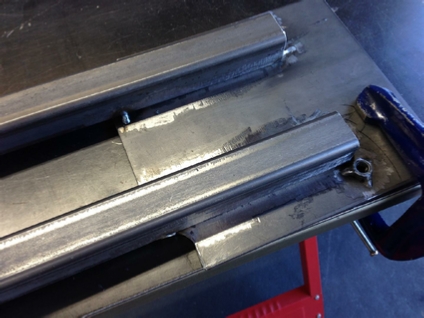
I also had to add two spacers to allow the mains wire clearance.

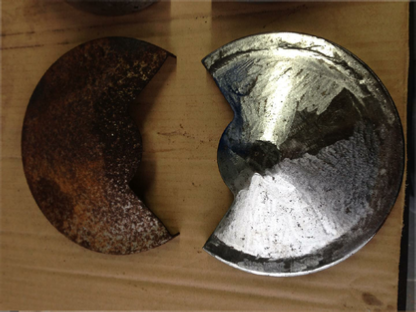
At this point I decided to try one of those Scotch Brite mops, check out the ‘before’ and ‘after’ look of the steel parts in both pictures!
Well I think that my Dad would be proud to see his old grinder refurbished into a brand new Linisher.
Another project done, time for the next one!
Quick test fit to the bench, looks good

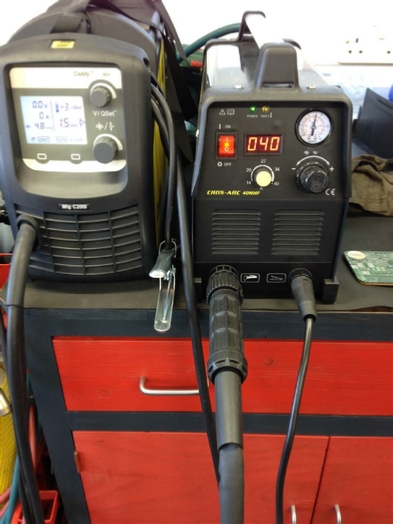
So lets get the Cros-Arc set to 40 amps as we are cutting 4mm steel plate and get going:

Note the stops in the picture on the left? That is to stop the mount going too far back into the bench, allowing the mains lead to have enough clearance.
Project Date: 8 Sep 2017
| Rage 3 Saw |
| ESAB Welder |
| Cros-Arc Plasma |
| HHO |
| Spot Welding |
| Betty's Gates |
| Car Headlights |
| Julia's Dartboard |
| Outside Light Base |
| Weather Vane |
| Geoff's Gates |
| Loft Hoist |
| Colin Laser Mount |