


Web Site by cg-photohraphy.co.uk


I already have a cabinet mounted above the lathe at one end on the workshop, but I needed a second one on the back wall above where the new bench was going to be. I found a nice blue cabinet at Machine Mart, and purchased it during a VAT free Sunday offer.
There was only one problem the cabinet would not fit in between the brick piers, so this would mean some fabrication to be able to mount it. I feel another project coming on, and if I am not mistaken some welding, and even some weldnuts!
Blue Wall Cabinet
Project Date: 27 May 2017
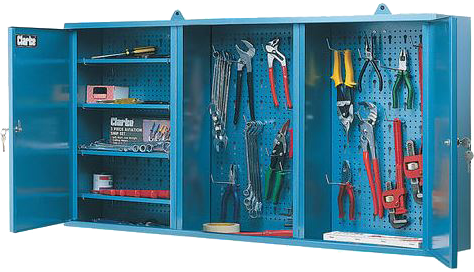
This is a picture of the original cabinet from their website, it’s still available. Clarke CWC50 Wall Cabinet With Two Lockable Doors £95.98
I decided to use two lengths of angle iron, both cut differently. Angle iron would give me rigidity as the cabinet was going to be heavy when it was full. I also wanted to conceal as much of the fitting as possible, leaving only two of the four fixing screws showing.
Below is my drawing again using my 3D drawing board. Notice how the two angle iron brackets are facing, one in and the other out.
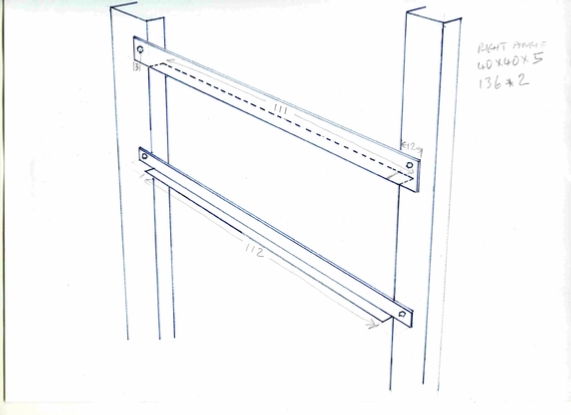
The idea behind this was so the bottom bracket could take the weight, while I screw the cabinet to the wall. I did this just in case for any reason I needed to remove it!
Very important if you design something, think ahead, and make it simpler for yourself in the future. Remember the design criteria is in your hands!
So with this in mind, lets get started. However, before we do lets talk wall fixings.
Do you recognise the picture below?
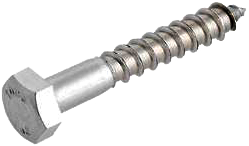
Well this is a coach screw, this one is A2 stainless but you can get them zinc plated as well. I tend to used these for ALL of my fixings into brick or concrete walls. Why? Because if you use them with the right rawl plug, (and I am glad you asked about that), they are rock solid.
These are from Screwfix, I think that theses were 8 x 50mm, buy a box, you will use them again!
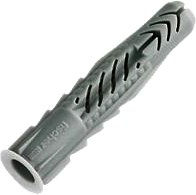
Oh and those rawl plugs. I am glad you reminded me. Fischer Universal Plugs also from Screwfix. I believe that they are German, and I use nothing else.
You know what I am going to say now?
Buy a box, you wont regret it!
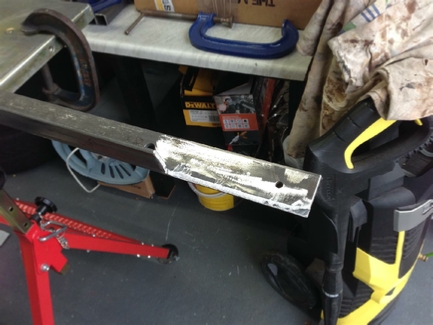
So where were we, oh yes the wall brackets. In this picture the bottom angle iron is cut and just held in place so I can mark the wall for drilling.
Incidentally let me go off piste again.
I must tell you, I was fitting some blinds a long long time ago, but not in a galaxy far far away!
Using a normal run of the mill power drill, albeit using some drill bits that I purchased from one of those shopping channels, you know the ones that sell those bits that will drill ‘anything’.
Well I had to drill the mounting holes into a concrete lintel, and to cut a long story short after half a day of drilling just, three holes! I decided to go and visit my local ‘Do it Yourself Store’ to see if I could speed this process up!

Where I found one of these!
A Bosch GBH 2-26 830W 2.7kg SDS Plus Hammer Drill
Now I may be ‘preaching to the converted’ here, but I purchased one of these with a large assortment of SDS plus drill bits. Now this was about 10 years ago,and to this day I am still using the same drill and ALL of the same drill bits!
so to finish off my story of long, long ago. When I returned home that day, I found the correct SDS bit, and the hole in the lintel that I had previously spent nearly a hour trying to drill. This time it took 10 seconds to complete. So I thought ok, maybe I had almost finished the hole using the other bit. So I had a go at my last hole. This time it took less that 30 seconds!
Motto being, get the right tool for the right job. Since then I have never worried about buying the right tool again, I just do it. To this day I am still use that same drill and drill bits.
Ok, back to the blue cabinet.
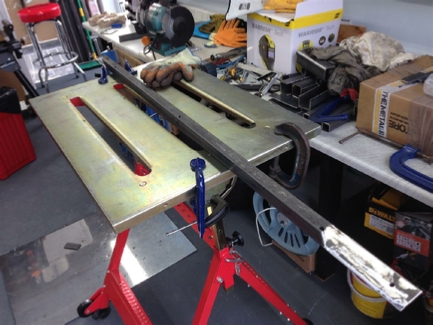
First piece of angle being ground and the fixing holes drilled.
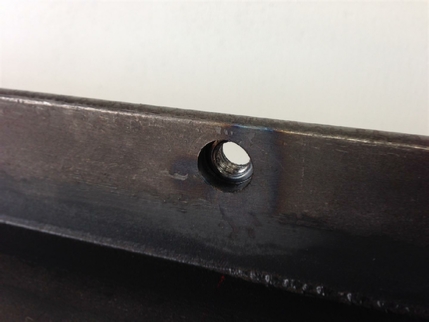
Now you know some weldnuts would feature sooner or later.
I decided to screw the blue cabinet to the angle iron using weldnuts, and bolts.
This means I can hold the cabinet with one hand, (remember the weight is taken on the bottom angle iron bracket facing outwards), and simply insert the bolts with the other hand and tighten.
Remember what I said about the design being in your hands, in this case literally!
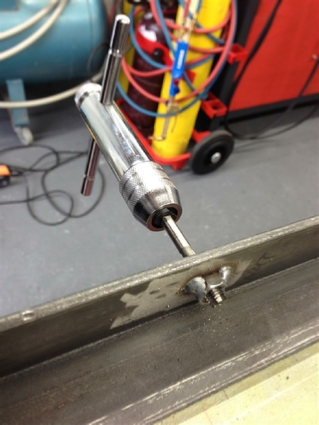
I found that if you weld the nuts, it is good practice to run them through with a tap, just in case there is any weld splatter stuck in the threads.
Much easier to do it now on the bench than later in situ!
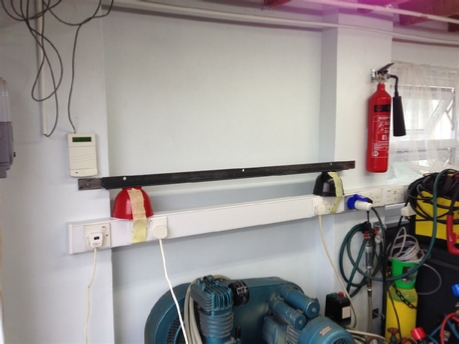
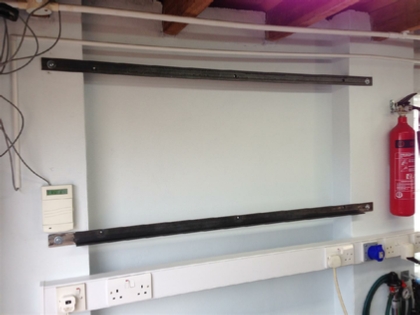
Both pieces of angle in place and fixed to the wall with those coach bolts and Fischer plugs.
Good job done!
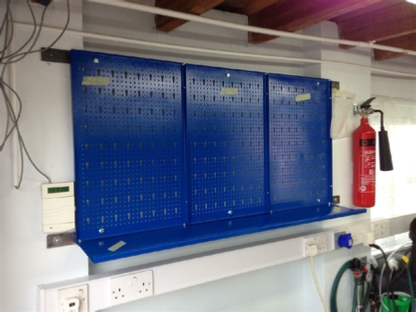
Doing a test fit before assembling the complete cabinet.
Always do it this way, any problems are easy to fix at this stage.
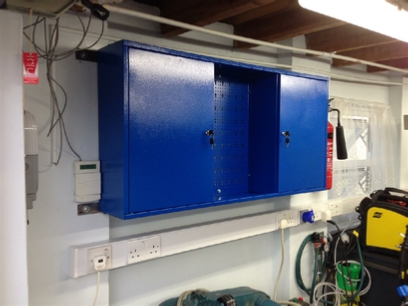
The Blue cabinet is a prefect fit on those angle iron brackets and with a minimum amount of fixing bolts showing.
Now all I need to do is get that pesky long alarm cable shortened!
Another project completed!
| Rage 3 Saw |
| ESAB Welder |
| Cros-Arc Plasma |
| HHO |
| Spot Welding |
| Betty's Gates |
| Car Headlights |
| Julia's Dartboard |
| Outside Light Base |
| Weather Vane |
| Geoff's Gates |
| Loft Hoist |
| Colin Laser Mount |